The Best Fluffy Pancakes recipe you will fall in love with. Full of tips and tricks to help you make the best pancakes.
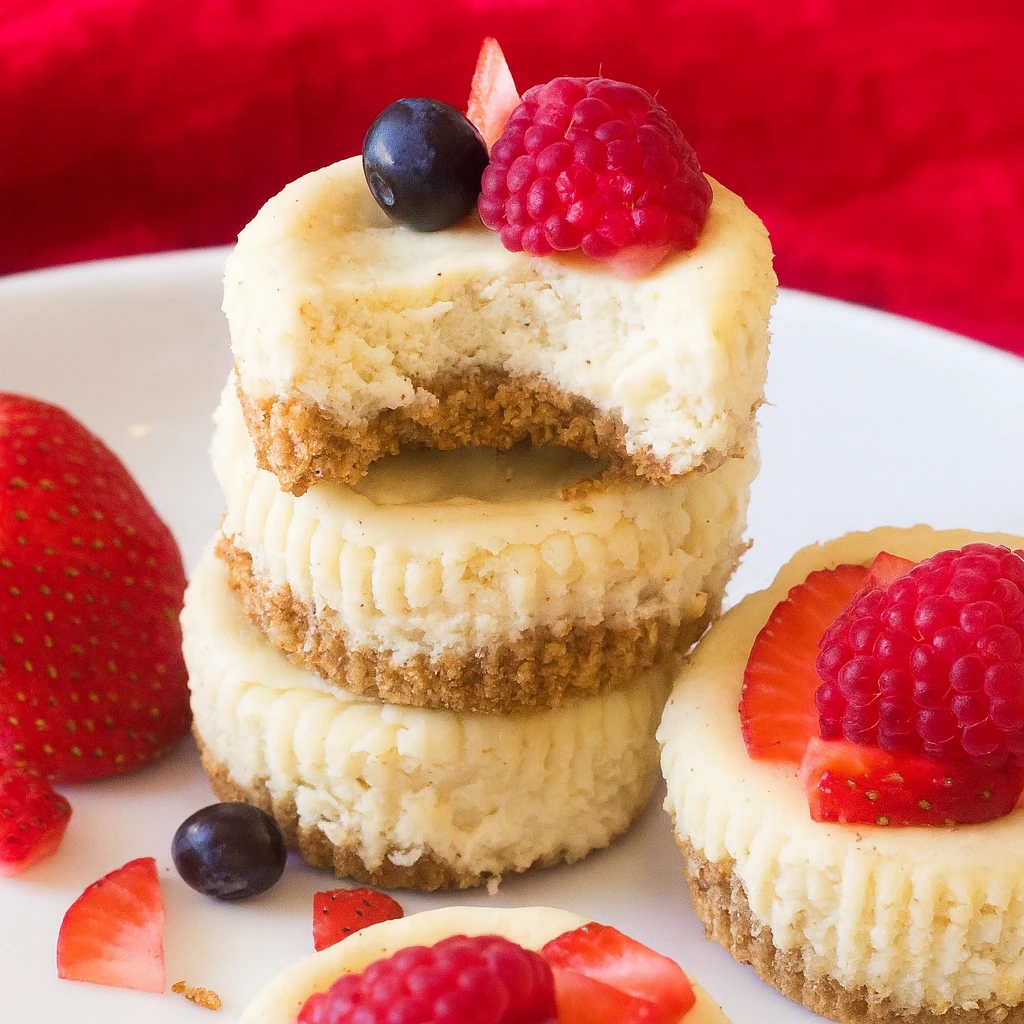
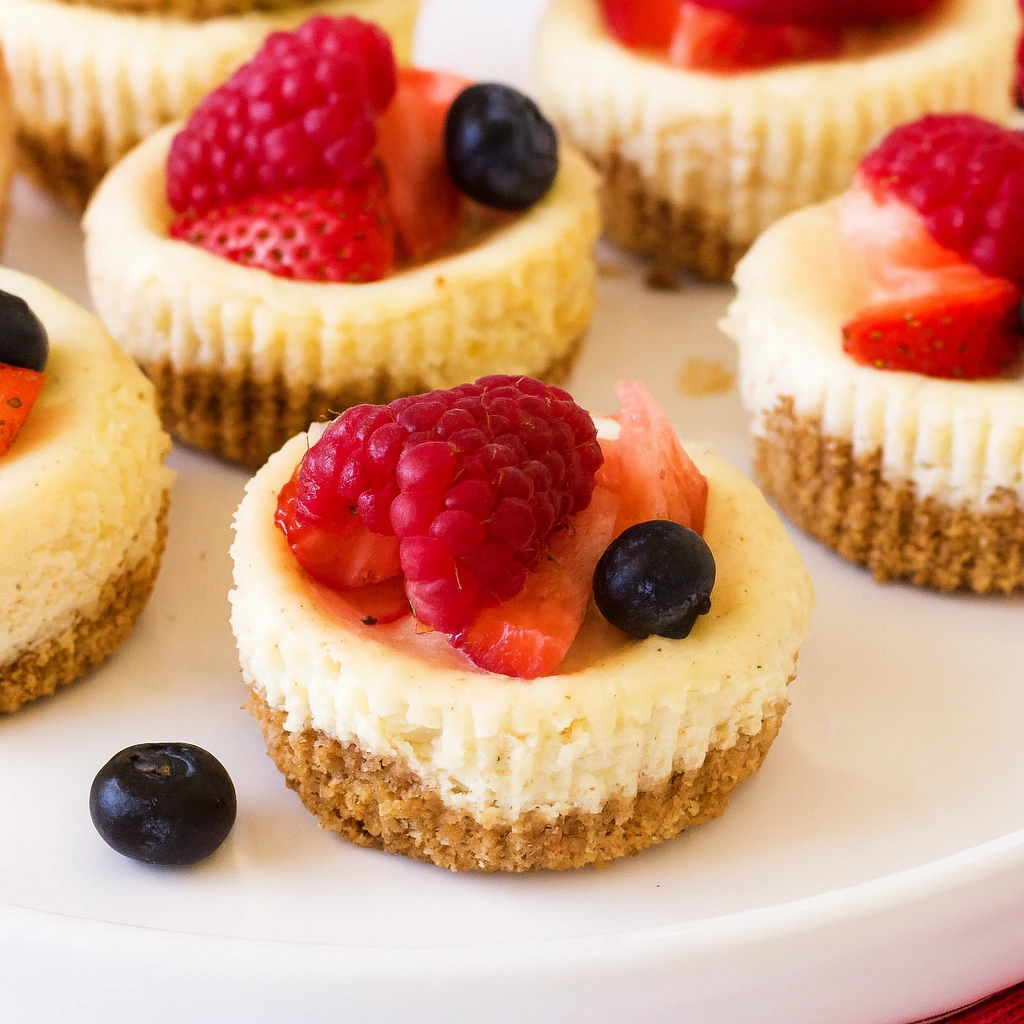
Cheesecake Bites Guide: Baked vs. No-Bake (Plus 12 Flavor Variations)
Not all cheesecake bites are created equal. Understanding the difference between baked and no-bake versions helps you choose the right method for your needs.
| Feature | Baked Cheesecake Bites | No-Bake Cheesecake Bites |
|---|---|---|
| Texture | Dense, creamy, authentic cheesecake | Lighter, mousse-like, airy |
| Prep Time | 30 minutes active | 15 minutes active |
| Total Time | 2–3 hours (including cooling) | 4–6 hours (chilling required) |
| Difficulty | Moderate (requires oven precision) | Easy (no baking skills needed) |
| Best For | Traditional cheesecake lovers, make-ahead events | Hot weather, kids helping, quick prep |
| Stability | Holds shape at room temp for 2 hours | Must stay chilled until serving |
| Equipment | Mini muffin tin, oven | Mini muffin tin or silicone molds, refrigerator |
The Verdict: If you want that classic New York-style cheesecake experience in mini form, go baked. If you’re prioritizing speed and simplicity (or avoiding the oven in summer), choose no-bake.
The Science of the “Perfect Bite”
Before we dive into recipes, let’s talk about what makes cheesecake bites succeed or fail.
Why Room Temperature Matters
Cold cream cheese creates lumps no amount of mixing can fix. When ingredients are at room temperature (around 65–70°F), they emulsify smoothly, creating that signature silky texture. Set your cream cheese, eggs, and sour cream out 30–60 minutes before starting.
The No Water Bath Revolution
Full-sized cheesecakes crack easily due to uneven heat distribution, which is why they sit in water baths. But mini cheesecake recipe portions have a significantly higher surface-area-to-volume ratio. Heat penetrates evenly and quickly, eliminating the need for this finicky step. This is what makes gluten-free cheesecake bites and other variations so accessible.
The Overbeating Trap
Here’s where home bakers stumble: Overbeating incorporates too much air. Air expands during baking, then contracts during cooling—hello, sunken centers. Mix just until ingredients combine, no more.
The Master Recipe (Baked Version)
Ingredients
For the Crust:
- 1 cup (120g) graham cracker crumbs (about 8 full crackers)
- 3 tablespoons (42g) unsalted butter, melted
- 1 tablespoon (12g) granulated sugar
For the Filling:
- 16 oz (452g) cream cheese, room temperature
- ½ cup (100g) granulated sugar
- 2 large eggs, room temperature
- 1 teaspoon vanilla extract
- ¼ cup (60g) sour cream
- Pinch of salt
Yield: 24 cheesecake bites
Step-by-Step Instructions
Step 1: The Crust Foundation
You have options here, and each creates a different flavor profile:
- Graham Cracker (Classic): Buttery, slightly sweet, universally loved
- Oreo (No graham crackers needed): Process 15 Oreos with 2 tablespoons melted butter—skip the extra sugar
- Biscoff/Speculoos: Caramelized flavor that pairs beautifully with fruit toppings
Method:
- Preheat oven to 325°F (163°C)
- Line a 24-cup mini muffin tin with paper liners
- Mix crust ingredients until texture resembles wet sand
- Press 1 teaspoon of mixture into each liner using a small glass or your thumb
- Bake for 5 minutes, then cool while preparing filling
Step 2: The Creamy Filling
- Beat cream cheese on medium speed for 2 minutes until fluffy (no lumps)
- Add sugar and beat for 1 minute
- Add eggs one at a time, mixing on LOW speed for just 10 seconds after each
- Fold in vanilla, sour cream, and salt with a spatula
- Fill each liner ¾ full (about 1 tablespoon of filling per bite)
Pro Tip: Use a small cookie scoop or a piping bag for mess-free, uniform portions.
Step 3: The Cooling Process (Most Critical Step)
This is where most recipes fail you. Proper cooling prevents cracks and maintains texture.
- Bake: 15–18 minutes. Centers should jiggle slightly when pan is gently shaken
- Oven cooling: Turn off oven, crack door open, let bites cool inside for 15 minutes
- Counter cooling: Remove from oven, cool completely on counter (45–60 minutes)
- Refrigeration: Chill for at least 2 hours before removing from pan
Why this works: Gradual temperature changes prevent the dramatic contraction that causes cracks and sinking.
5 Ways to Customize Your Base (The Flavor Cluster)
Now for the fun part. Once you’ve mastered the base, these variations keep your cheesecake bites exciting.
1. Turtle Cheesecake Bites
Add 2 tablespoons caramel sauce swirled into filling. Top each cooled bite with a pecan half and drizzle of chocolate.
2. Lemon Berry Swirl
Add 2 tablespoons lemon juice and 1 teaspoon lemon zest to filling. Drop small spoonfuls of berry jam on top of each bite, swirl with a toothpick before baking.
3. Oreo Cookies & Cream
Crush 6 Oreos and fold into filling. Use Oreo crust. Top with whipped cream and Oreo crumbs.
4. New York Style Classic
Double the sour cream (½ cup total) and add 1 tablespoon flour to the filling for that dense, tangy NYC texture.
5. Seasonal Specials
- Pumpkin: Add ½ cup pumpkin puree + 1 teaspoon pumpkin pie spice
- Peppermint: Add ½ teaspoon peppermint extract, top with crushed candy canes
- Strawberry: Fold in ¼ cup finely chopped fresh strawberries
Frequently Asked Questions
Q: Why did my cheesecake bites sink in the middle?
A: This happens when eggs are overbeaten, incorporating too much air. Mix on low speed and only until combined. Also ensure your oven temperature is accurate—too high heat causes rapid rising and falling.
Q: Can I freeze cheesecake bites?
A: Yes! Cheesecake bites freeze perfectly for up to 3 months. Place cooled bites in a single layer on a baking sheet, freeze until solid (2 hours), then transfer to a freezer bag. Thaw in the refrigerator overnight before serving.
Q: How do I get them out of the pan without breaking?
A: Cool completely, then chill for at least 2 hours. Run a thin knife around the edge of each bite, twist gently, and lift. Using paper liners makes this even easier—just peel away the paper before serving.
Q: Can I make these as gluten-free cheesecake bites?
A: Absolutely. Use gluten-free graham crackers or crushed gluten-free cookies for the crust. The filling is naturally gluten-free.
Q: Do I need mini muffin liners?
A: Not required, but highly recommended. Without liners, grease the tin thoroughly with butter and dust with graham cracker crumbs. Expect some sticking.
Q: How long do cheesecake bites last?
A: Stored in an airtight container in the refrigerator, they stay fresh for 5–7 days. For best texture, bring to cool room temperature 15 minutes before serving.
Q: Why is my filling grainy?
A: Cold cream cheese is the culprit. Always use room temperature ingredients and avoid overmixing once eggs are added.
Final Tips for Cheesecake Bite Success
- Temperature Control: An oven thermometer is your best friend. Many ovens run 25°F hotter than the dial suggests
- Quality Ingredients: Full-fat cream cheese (not whipped or reduced-fat) produces the best texture
- Patience Pays: Resist peeking during baking—opening the oven door drops temperature and extends baking time
- Topping Timing: Add delicate toppings (whipped cream, fresh fruit) after chilling, never before baking
Whether you’re making a simple no water bath cheesecake for a weeknight treat or creating an impressive dessert spread with multiple flavors, cheesecake bites deliver maximum impact with minimal stress. Master the technique, experiment with the variations, and you’ll have a go-to recipe that never fails to impress.
Ready to try your first batch? Start with the classic baked version, then branch into flavors as you gain confidence. Your kitchen is about to smell amazing.
Cheesecake Bites Guide: Baked vs. No-Bake (Plus 12 Flavor Variations)
Course: cake ideas, DessertsCuisine: AmericanServings
24
servingsPrep time
20
minutesCooking time
15
minutesCalories
300
kcalIngredients
Crust
1 cup (100 g) graham cracker crumbs (or digestive biscuits)
2 Tbsp (25 g) granulated sugar
4 Tbsp (56 g) unsalted butter, melted
Pinch fine salt
Filling
16 oz (450 g) full-fat cream cheese, room temp
½ cup (100 g) granulated sugar
2 large eggs, room temp
¼ cup (60 g) sour cream
1 tsp vanilla extract
1 Tbsp lemon juice (optional, for brightness)
Pinch fine salt
Topping (optional, choose one)
¾ cup fruit preserves or sauce (strawberry, blueberry, cherry), or
½ cup (120 ml) salted caramel, or
Fresh berries + powdered sugar
Directions
- Prep pan: Line a 24-cup mini muffin pan with paper liners. Heat oven to 325°F (165°C).
- Make crust: Stir crumbs, sugar, salt, and melted butter until evenly moistened.
- Pack crusts: Spoon ~1 teaspoon into each liner and press firmly (use a ¼-teaspoon or small tamper).
- Pre-bake (optional but helpful): Bake crusts 5 minutes; cool while making filling.
- Beat cheese & sugar: With a mixer on medium-low, beat cream cheese and sugar until completely smooth; scrape bowl.
- Add eggs: Mix in eggs one at a time just until combined (avoid over-mixing).
- Finish filling: Mix in sour cream, vanilla, lemon juice, and a pinch of salt until silky.
- Fill cups: Divide filling among cups, nearly to the top (a small cookie scoop helps).
- Bake: 12–15 minutes at 325°F (165°C) until centers are just set with a slight jiggle; edges should not brown.
- Cool: Rest in pan 10 minutes, then transfer to a rack to cool to room temp.
- Chill: Cover and refrigerate at least 2 hours (overnight for best texture).
- Top & serve: Spoon on fruit sauce/caramel or add fresh berries. Keep chilled; serve cold.