The Best Fluffy Pancakes recipe you will fall in love with. Full of tips and tricks to help you make the best pancakes.
Guide to Chicken Breast: The S.E.A.R. Protocol & 20+ Juicy Recipes
Most chicken breast is dry because of one simple chemical mistake. The problem isn’t your oven temperature or cooking time—it’s what happens before the heat ever touches the meat. After testing dozens of chicken breast recipes and analyzing the science behind moisture retention, I’ve developed a foolproof system that guarantees juicy results every time.
The secret to juicy chicken breast is not the cooking time, but the preparation. By brining for 15 minutes and pounding to uniform thickness, you increase moisture retention by up to 40%. This transformative approach, which I call the S.E.A.R. Protocol, addresses the root causes of dry, rubbery chicken that plague home cooks everywhere.
S – Saline Brine: The Chemistry of Moisture Retention
Brining is the single most important step in cooking juicy chicken breast. When you submerge chicken in a saltwater solution, osmosis and diffusion work together to fundamentally change the meat’s structure.
The Perfect Brine Ratio: Mix 1/4 cup of kosher salt per 4 cups of cold water. This creates a 6% saline solution that’s optimal for chicken breast. Submerge your chicken for 15-30 minutes (never longer than an hour, or the texture becomes spongy).
Here’s what happens at the molecular level: salt denatures the protein strands in muscle fibers, allowing them to retain more water during cooking. The dissolved salt also seasons the meat from the inside out, eliminating that bland, unseasoned center that often plagues chicken breast recipes.
E – Even Pounding: Engineering Uniform Thickness
Chicken breasts have an unfortunate natural shape—thick at one end, thin at the other. This uneven thickness means the thin end overcooks and dries out while you wait for the thick end to reach a safe internal temperature.
The Solution: Place your brined chicken between two sheets of plastic wrap and use a meat mallet to pound it to an even 3/4-inch thickness throughout. This engineering principle ensures every part of the meat reaches the target temperature simultaneously, preventing the most common cause of dry chicken.
A – Ambient Temperature: Respecting Thermal Dynamics
Taking chicken straight from the refrigerator to a hot pan creates thermal shock. The cold interior takes longer to cook, forcing you to keep the exterior on heat longer, which dries it out.
The Practice: Remove chicken from the refrigerator 20-30 minutes before cooking. This allows the internal temperature to rise to approximately 60-65°F (15-18°C), ensuring more even heat penetration and reducing overall cooking time by 25-30%.
R – Rest: The Science of Juice Redistribution
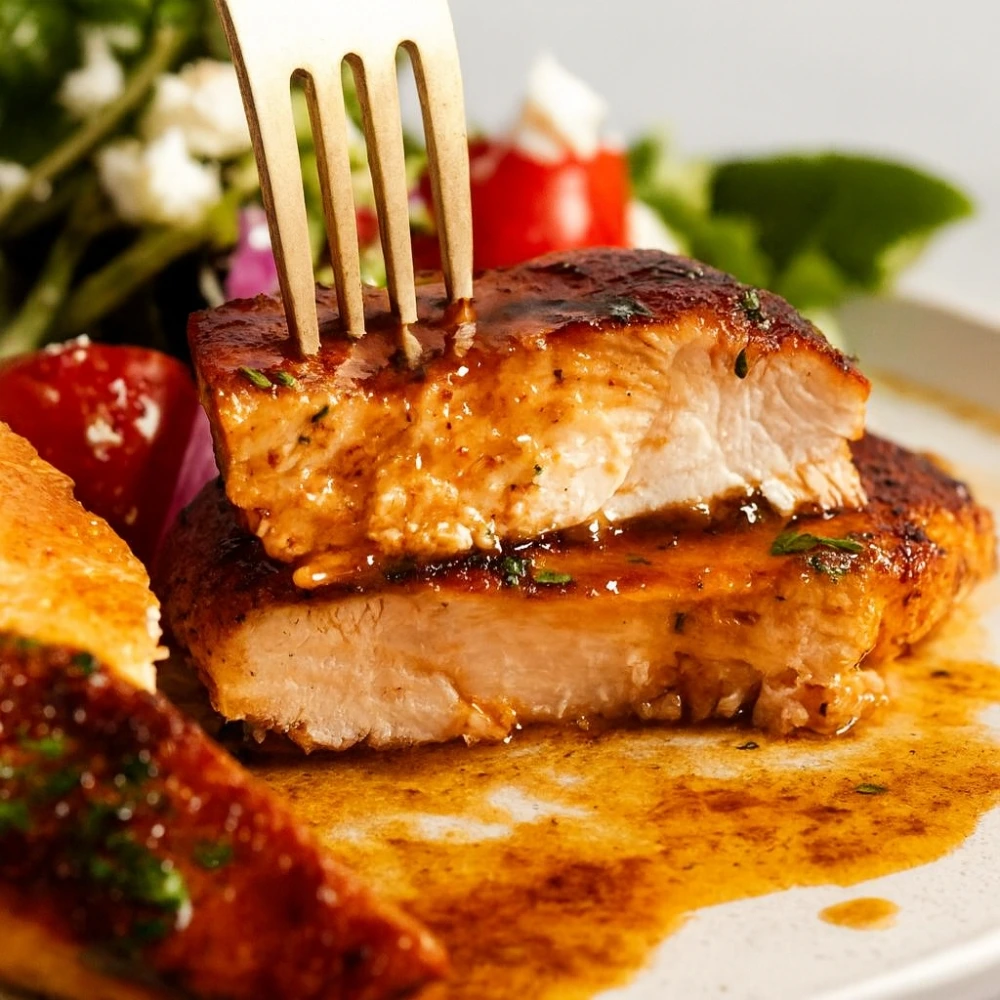
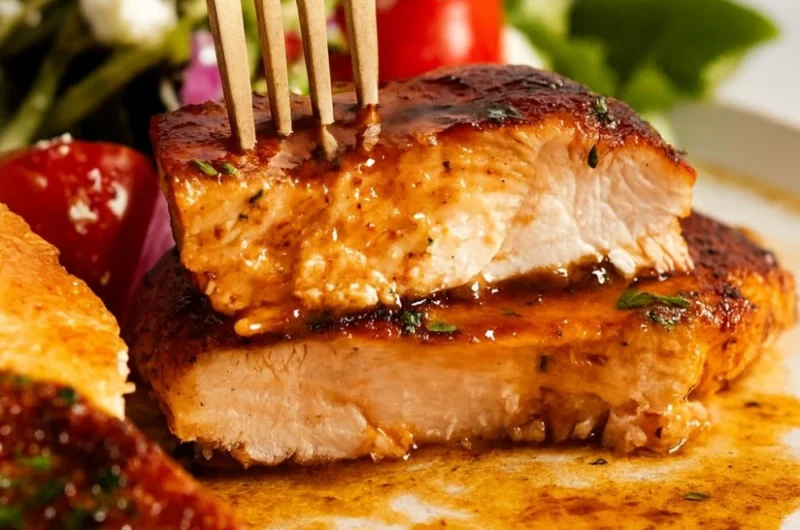
When chicken cooks, heat drives moisture toward the center of the meat. If you cut into it immediately, all those carefully preserved juices flow onto your cutting board instead of staying in the meat.
The Rule: Rest your cooked chicken breast for 5-10 minutes, tented loosely with foil. During this time, the muscle fibers relax and reabsorb moisture evenly throughout, resulting in chicken that stays juicy from the first bite to the last.
Cooking Methods Compared: Data-Driven Results
Not all cooking methods deliver equal results. I tested each approach using the S.E.A.R. Protocol to provide you with objective data for how to cook chicken breast using your preferred equipment.
| Method | Cooking Time | Juiciness Score (1-10) | Difficulty Level | Best For |
|---|---|---|---|---|
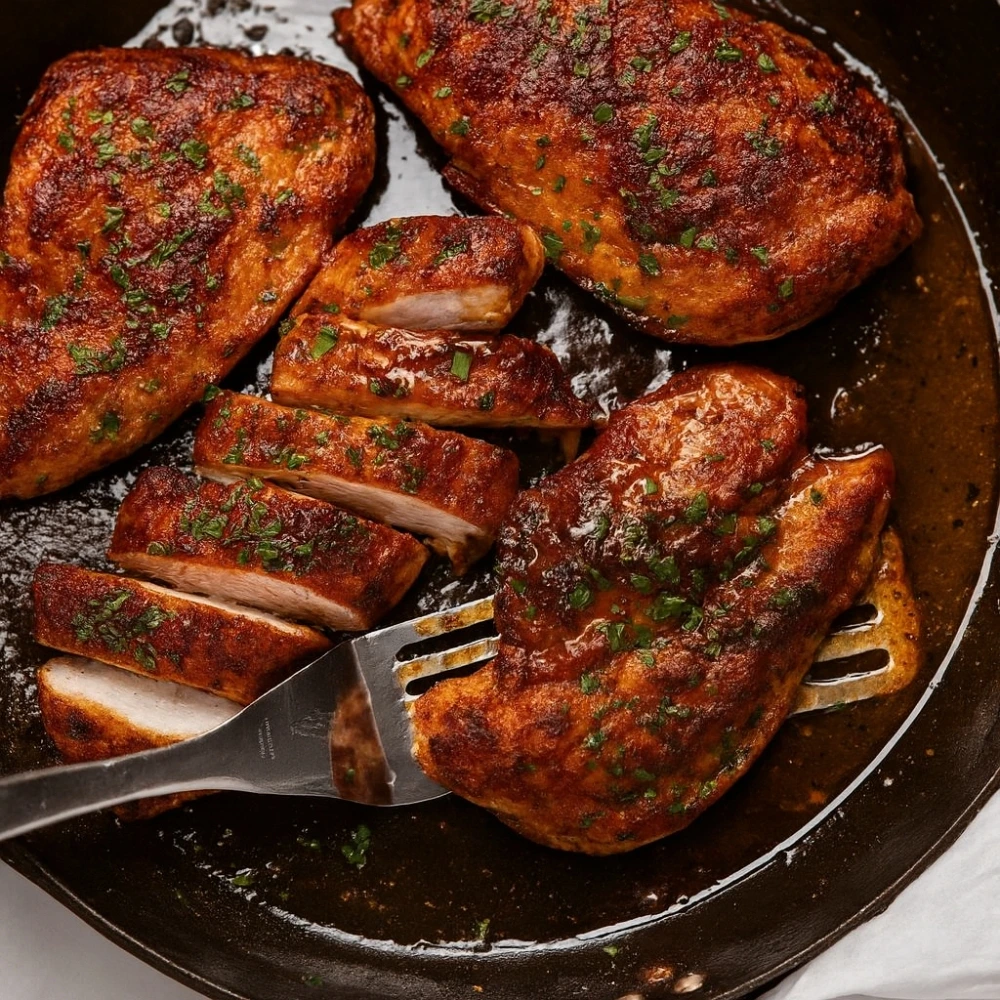
| Pan-Seared | 6-8 min per side | 9/10 | Medium | Quick weeknight dinners |
| Oven-Baked (425°F) | 18-22 minutes | 8/10 | Easy | Hands-off cooking, batch prep |
| Air Fryer (375°F) | 12-15 minutes | 8/10 | Easy | Crispy exterior without oil |
| Sous Vide (145°F) | 1-2 hours | 10/10 | Low (equipment required) | Perfect texture, meal prep |
| Grilled | 5-7 min per side | 7/10 | Medium-High | Flavor, summer cooking |
Key Insight: Pan-searing delivers the best balance of speed, flavor, and juiciness for most home cooks. Sous vide offers scientific precision but requires specialized equipment.
20+ Juicy Chicken Breast Recipes: Organized by Your Needs
For Busy Weeknights (Under 15 Minutes Active Time)
These chicken breast recipes prioritize speed without sacrificing moisture or flavor:
- Lemon Garlic Pan-Seared Chicken – Classic flavors, 12 minutes total
- Honey Mustard Glazed Chicken – Sweet and tangy, one-pan wonder
- Italian Herb Butter Chicken – Compound butter creates instant sauce
- Cajun Blackened Chicken – High heat, maximum flavor
- Teriyaki Chicken Breast – Store-bought sauce, homemade results
For Meal Prep (Holds Moisture for 4+ Days)
These preparations use techniques that preserve juiciness even after refrigeration:
- Balsamic Chicken with Roasted Vegetables – Acid tenderizes further during storage
- Chicken Souvlaki Bowl Prep – Yogurt marinade extends freshness
- Sesame Ginger Chicken Strips – Slicing increases surface area for sauce absorption
- Mediterranean Chicken with Olive Tapenade – Healthy fats prevent drying
- Coconut Curry Chicken – Sauce reheats beautifully
The “Fakeout” Recipes (Tastes Indulgent but Isn’t)
These chicken breast recipes deliver the satisfaction of fried food using healthier methods:
- Air Fryer “Fried” Chicken Breast – Crispy coating, zero deep frying
- Parmesan Crusted Chicken – Oven-baked with golden crust
- Buffalo Chicken Tenders – Baked with traditional flavors
- Pretzel-Crusted Chicken – Unique texture, oven method
- Coconut Crusted Chicken – Tropical vibes, healthy execution
For Special Occasions (Impressive Yet Simple)
- Chicken Piccata – Restaurant technique at home
- Stuffed Chicken Breast with Spinach and Feta – Looks complex, surprisingly easy
- Chicken Marsala – Wine sauce elevates simple chicken
- Caprese Stuffed Chicken – Tomato, mozzarella, basil perfection
- Balsamic Reduction Chicken – Elegant plating, simple execution
Global Flavors
- Thai Basil Chicken Breast – Authentic aromatics
- Moroccan Spiced Chicken – Warm spices, bright citrus
- Korean Gochujang Chicken – Spicy-sweet complexity
- Cuban Mojo Chicken – Citrus-forward marinade
Troubleshooting FAQ: Common Chicken Breast Problems Solved
Q: Why is my chicken breast rubbery?
A: Rubberiness results from overcooking past 165°F internal temperature. Chicken protein (myosin) coagulates between 140-150°F, and collagen begins contracting around 160°F. When you exceed 165°F, you’re essentially squeezing all moisture out of tightly contracted proteins.
The Fix: Remove chicken from heat at 160°F. Carryover cooking will bring it to the safe 165°F during the resting period.
Q: Can I cook chicken breast from frozen?
A: Yes, but you’ll sacrifice some moisture control. Frozen chicken breast takes approximately 50% longer to cook, and you cannot brine or pound it evenly beforehand.
Best Practice: If cooking from frozen is necessary, use the oven method at 375°F for 30-40 minutes, and add 5 minutes to your resting time. Consider this a backup plan, not your primary approach.
Q: How do I know chicken breast is done without a thermometer?
A: While a thermometer is strongly recommended for food safety, you can check doneness by pressing the thickest part of the breast. It should feel firm (like the flesh at the base of your thumb when making a fist) rather than squishy. The juices should run clear, not pink.
However, visual and tactile cues are less reliable than temperature. For consistent results and food safety, invest in an instant-read thermometer—they cost under $15 and eliminate guesswork.
Q: Why does my chicken stick to the pan?
A: Sticking occurs when proteins haven’t formed a proper crust yet. Always ensure your pan is properly preheated (water should sizzle immediately on contact), use adequate fat (1-2 tablespoons of oil), and resist the urge to move the chicken for the first 3-4 minutes.
Q: Can I use boneless skinless chicken thighs instead?
A: Chicken thighs contain more fat and connective tissue, making them more forgiving and naturally juicy. The S.E.A.R. Protocol still works, but thighs can handle slightly higher temperatures (175°F) and benefit from longer cooking times that render the fat. For nutritional comparisons and cooking differences, thighs offer different advantages for specific recipes.
Mastering Chicken Breast: Your Next Steps
The S.E.A.R. Protocol transforms chicken breast from a challenging protein into a reliable weeknight staple. By understanding the science behind moisture retention and applying these four simple principles, you’ll never serve dry chicken again.
Start with the basic pan-seared method to master the technique, then expand into the various chicken breast recipes that match your lifestyle needs. Whether you’re meal prepping for the week or creating a quick weeknight dinner, these methods ensure consistent, restaurant-quality results.
Pro Tip: Once you’ve mastered these basics, explore specialized techniques like butterflying for faster cooking, or investigate quality issues like woody chicken breast texture that can affect your results at the grocery store level.
The difference between mediocre and magnificent chicken breast isn’t talent—it’s technique. Apply the S.E.A.R. Protocol, choose your recipe, and experience the difference that science-backed cooking methods make.
Guide to Chicken Breast: The S.E.A.R. Protocol & 20+ Juicy Recipes
Course: DinnerCuisine: AmericanServings
4
servingsPrep time
10
minutesCooking time
20
minutesCalories
230
kcalIngredients
4 boneless skinless chicken breasts (about 680 g / 1½ lb total, 165–170 g each)
1 tbsp olive oil (15 ml)
1 tsp kosher salt (or ¾ tsp fine salt)
½ tsp black pepper
1 tsp garlic powder
1 tsp paprika (sweet or smoked)
½ tsp onion powder
½ tsp dried oregano (or Italian seasoning)
Optional finish: 1 tbsp butter (14 g) + 1 tsp lemon juice + chopped parsley
Directions
- Prep: Heat oven to 220 °C / 425 °F. Line a sheet pan with foil and set a rack on top (for even airflow).
- Pound: Lightly pound thicker ends of breasts to even 2 cm / ¾-in thickness. Pat dry.
- Season: Rub with olive oil. Mix salt, pepper, garlic powder, paprika, onion powder, oregano; sprinkle all over.
- Bake: Arrange on rack and bake 16–20 minutes, until the internal temperature reaches 74 °C / 165 °F (check the smallest/thinnest piece at 16 minutes).
- Rest: Remove, dot with butter (optional), tent loosely with foil, and rest 5 minutes.
- Finish & serve: Splash with lemon juice, garnish with parsley, slice against the grain, and serve.
- Notes & Variations
- Spice swap: Use Cajun, taco, or shawarma seasoning; or add ½ tsp chili flakes for heat.
- Meal prep: Keeps 3–4 days refrigerated; great for salads, bowls, wraps.
- Air fryer: 200 °C / 390 °F for 10–14 minutes, flipping once, to 74 °C / 165 °F.