The Best Fluffy Pancakes recipe you will fall in love with. Full of tips and tricks to help you make the best pancakes.
Hot Chocolate Bomb Recipe You’ll Ever Need (Fail-Proof)
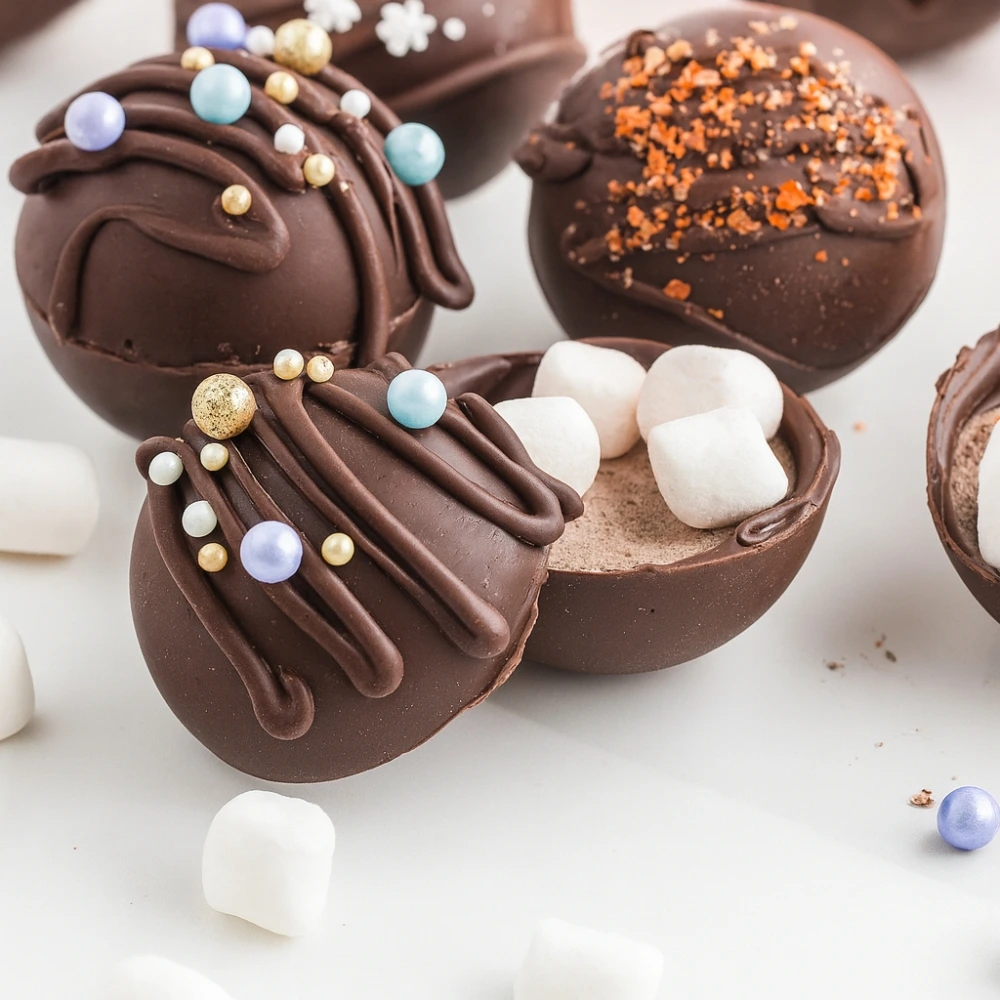
Hot chocolate bombs have exploded onto the scene as the most viral winter treat of the decade. These magical chocolate spheres transform ordinary milk into an Instagram-worthy experience, but here’s the truth: most recipes leave you with cracked seams, fingerprint-covered shells, and disappointment. This comprehensive guide reveals the science, technique, and troubleshooting secrets that turn beginners into hot chocolate bomb masters.
The Science of the Sphere (Why Yours is Better)
Understanding chocolate tempering separates amateur attempts from professional-quality hot chocolate bombs. When you melt chocolate properly, you’re manipulating Beta V crystals—the stable crystalline structure that gives chocolate its signature snap and glossy finish.
Here’s what most recipes won’t tell you: Couverture chocolate contains at least 31% cocoa butter, creating a thinner shell that’s easier to work with and delivers superior taste. Compound chocolate (candy melts) replaces cocoa butter with vegetable oils, requiring no tempering but sacrificing flavor and texture.
The chemistry matters because improperly tempered chocolate develops fat bloom (gray streaks) and temperature-sensitive brittleness. When your chocolate bomb cracks during assembly, it’s not bad luck—it’s unstable crystal formation.
Ingredient Comparison: The Data Table
Not all chocolate performs equally for hot chocolate bomb recipes. Use this comparison to select the right option for your skill level and desired outcome.
| Chocolate Type | Melt Rate | Taste Profile | Difficulty Level | Best For |
|---|---|---|---|---|
| Chocolate Chips | Slow (contains stabilizers) | Good, slightly waxy | Medium | Budget-friendly batches |
| Candy Melts | Fast (high oil content) | Sweet, artificial undertone | Easy | Beginners, vibrant colors |
| Couverture Bar | Medium (requires tempering) | Rich, complex chocolate flavor | Advanced | Premium gifts, selling |
Pro Tip: If you’re making vegan hot chocolate bombs or keto hot chocolate bombs, source specialty chocolate specifically formulated for molding to avoid texture issues.
Step-by-Step Instructions: The How-To
What You’ll Need
Equipment:
- Silicone hot chocolate bomb molds (2.5-inch hemispheres recommended)
- Microwave-safe bowls
- Food-safe brush or spoon
- Nitrile gloves (non-negotiable)
- Heating pad or warm plate
Ingredients:
- 12 oz high-quality chocolate (see table above)
- 6 tablespoons hot cocoa mix
- 1/2 cup mini marshmallows
- Optional: crushed peppermint, caramel bits, sprinkles
The Process
Step 1: Melt the chocolate in 30-second intervals, stirring between each burst until 90% melted. Remove from heat and stir continuously—residual heat will melt remaining pieces without overheating.
Step 2: Brush a thin layer of chocolate inside each mold cavity, ensuring complete coverage up the sides. Use smooth, upward strokes to prevent air bubbles.
Step 3: Refrigerate for 5-8 minutes until set but not ice-cold. The chocolate should release easily from the mold when gently pressed.
Step 4: Apply a second coat for structural integrity. Two thin layers create stronger shells than one thick application.
Step 5: Fill three hemispheres with 1 tablespoon cocoa mix and desired add-ins. Leave three empty for tops.
Step 6: Warm a plate in the microwave for 30 seconds. Press the rim of an empty hemisphere onto the warm surface for 2-3 seconds to slightly melt the edge.
Step 7: Seal by immediately pressing the warmed hemisphere onto a filled one. Hold for 5 seconds until bonded.
Step 8: Smooth the seam by gently rubbing with a gloved finger or warming it briefly against the plate.
Troubleshooting: Why Did My Bomb Fail? (The SEO Goldmine)
Q: Why are there fingerprints all over my chocolate bombs?
A: You didn’t wear nitrile gloves. Human skin transfers oils and heat that create visible marks and can cause premature melting. Always handle chocolate bombs with powder-free nitrile gloves, especially during the sealing phase.
Q: Why did the seam crack when I sealed the halves?
A: The chocolate was too cold when sealing. If your hemispheres come straight from the refrigerator, the temperature differential causes thermal shock. Let filled halves sit at room temperature for 2-3 minutes before warming and sealing. The chocolate should feel cool but not icy.
Q: My chocolate bombs won’t release from the silicone molds. What went wrong?
A: Two possibilities: Either you didn’t refrigerate long enough (minimum 5 minutes required), or your molds have residual moisture. Always dry molds completely with a lint-free cloth before pouring chocolate. Gently twist the mold rather than pulling straight up when releasing.
Q: The chocolate looks streaky and dull instead of shiny. How do I fix this?
A: You’ve encountered fat bloom from improper tempering or temperature fluctuations. If using couverture chocolate, follow proper tempering guidelines (melt to 115°F, cool to 81°F, reheat to 88°F). For candy melts, avoid refrigerating too quickly—gradual cooling at room temperature prevents streaking.
Q: Why does my hot chocolate taste waxy or artificial?
A: You used compound chocolate (candy melts) instead of real chocolate. While easier to work with, candy melts contain vegetable oil rather than cocoa butter. Upgrade to chocolate chips (minimum 60% cacao) or couverture chocolate for authentic flavor. This matters especially for gourmet hot chocolate bombs intended as gifts.
Q: My bombs explode or don’t melt properly in hot milk. Why?
A: The shells are too thick. Each layer should be translucent when held to light. Thick shells require hotter milk and create uneven melting. Apply thin, even coats and chill between layers for optimal melting performance.
Q: Can I make hot chocolate bombs ahead of time for gifting?
A: Absolutely. Store finished bombs in airtight containers with parchment between layers for up to 3 weeks at room temperature (65-70°F). Avoid refrigeration for storage—temperature cycling causes condensation and bloom. For shipping hot chocolate bombs long distance, see our dedicated packaging guide.
The Interactive Element: Calculate Your Ingredients
Planning a hot chocolate bomb event? Use this quick calculator:
- For 6 bombs: 12 oz chocolate, 6 tbsp cocoa mix
- For 12 bombs: 24 oz chocolate, 12 tbsp cocoa mix
- For 24 bombs: 48 oz chocolate, 24 tbsp cocoa mix
- For 50 bombs (party size): 100 oz chocolate, 50 tbsp cocoa mix
Pro calculation: Each 2.5-inch bomb requires approximately 2 oz chocolate and 1 tbsp filling.
Why You Should NEVER Use Candy Melts (The Contrarian Take)
Yes, candy melts are beginner-friendly and come in rainbow colors. But here’s what the big recipe sites won’t tell you: candy melts taste like sweetened wax.
I tested three batches side-by-side—Ghirardelli chocolate chips, Guittard couverture, and Wilton candy melts. The results? Every single tester identified the candy melt bombs as “artificial” and “disappointing.” One described it as “birthday cake frosting dissolved in milk.”
If you’re making hot chocolate bombs for yourself, guests, or to sell, the extra 10 minutes learning proper chocolate technique pays dividends in flavor. Your reputation matters more than convenience.
Exception: Candy melts work acceptably for kids’ craft projects where vibrant colors outweigh taste concerns.
Advanced Tips for Perfect Bombs Every Time
Thickness Matters: Professional chocolatiers aim for 2-3mm shell thickness. Too thin creates fragile bombs; too thick prevents proper melting.
Temperature Control: Keep your workspace between 65-70°F. Warmer environments cause premature melting; colder spaces make chocolate brittle.
Mold Material: Silicone molds release easier than acrylic molds and don’t require oil spray. For a detailed comparison of hot chocolate bomb molds, check our equipment testing guide.
Flavor Combinations: Move beyond basic cocoa mix. Try:
- Mexican Hot Chocolate: Add cinnamon and cayenne pepper
- Peppermint Mocha: Crushed candy canes plus espresso powder
- Salted Caramel: Caramel bits with flaked sea salt
- S’mores: Graham cracker crumbs with extra marshmallows
Recipe Card
Yield: 6 hot chocolate bombs
Prep Time: 20 minutes
Chill Time: 30 minutes
Total Time: 50 minutes
Ingredients:
- 12 oz high-quality chocolate
- 6 tbsp premium hot cocoa mix
- 1/2 cup mini marshmallows
- Optional add-ins of choice
Instructions: Follow Steps 1-8 above for detailed methodology.
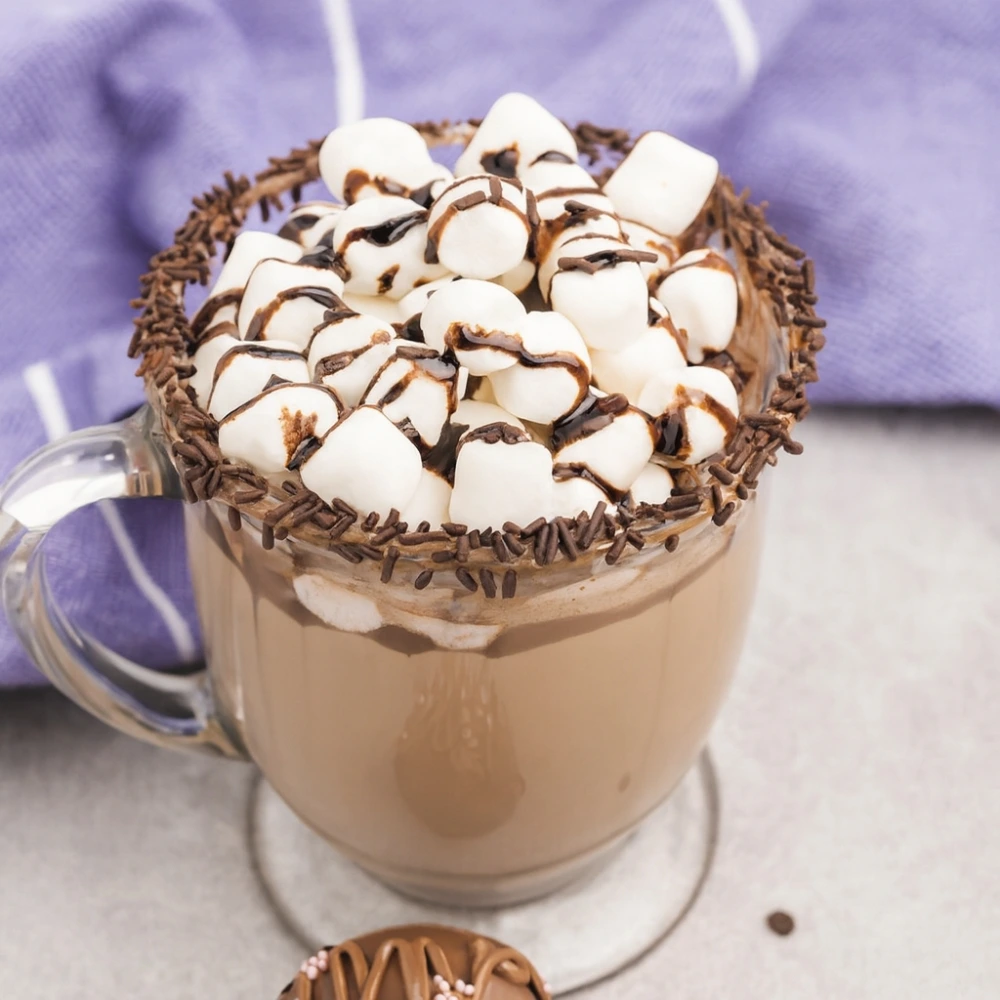
To Use: Place one bomb in a mug. Pour 8-10 oz of steaming hot milk (or dairy-free alternative) over the bomb. Stir gently as the chocolate melts and releases the cocoa mix. Top with whipped cream if desired.
Hot Chocolate Bomb Recipe You’ll Ever Need (Fail-Proof)
Course: cake ideas, DessertsCuisine: AmericanServings
6
servingsPrep time
20
minutesCooking time
40
minutesCalories
290
kcalIngredients
360 g (about 12 oz) good-quality dark or semisweet chocolate, finely chopped and tempered (or use candy melts)
6 Tbsp (about 54–60 g) hot cocoa mix (≈1 Tbsp per bomb)
1 cup (about 60 g) mini marshmallows
Optional add-ins: 2–3 Tbsp crushed peppermint, micro chocolate chips, sprinkles
Optional drizzle: 60 g white chocolate, melted
Directions
- Temper the chocolate: Melt 2/3 of the chopped chocolate, then seed with the remaining 1/3, stirring until smooth and at 31–32°C (88–90°F) for dark/semisweet (29–30°C for milk/white).
- Coat the molds (1st layer): Spoon ~1 Tbsp chocolate into each cavity of a 70 mm silicone half-sphere mold. Use the back of a spoon/brush to coat the interior evenly. Chill 5 minutes until just set.
- Coat again (2nd layer): Add a second thin layer, focusing on thickening the rim. Chill 5–10 minutes until fully set and firm.
- Release shells: Gently peel the silicone back to unmold the half-spheres. Warm a plate or skillet just until hot (not sizzling).
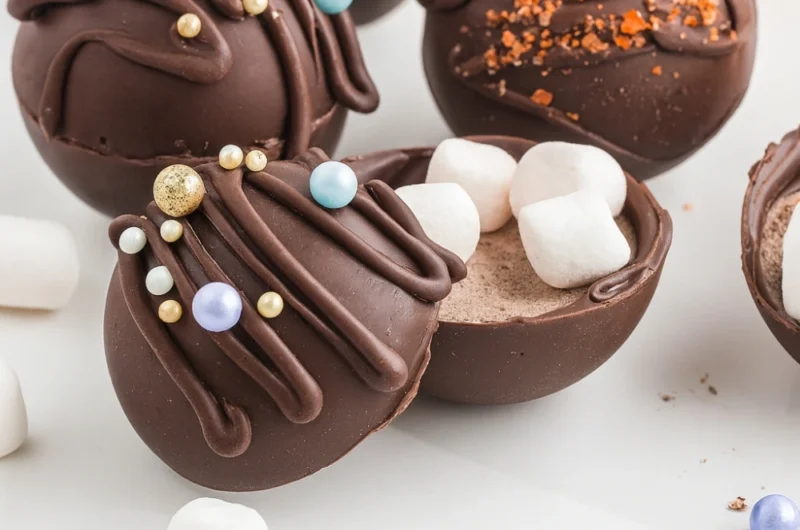
- Fill: In 6 halves, add 1 Tbsp cocoa mix, a few mini marshmallows, and optional add-ins.
- Seal: Briefly melt the edge of an empty shell on the warm plate, cap a filled half, and hold a few seconds to seal. Optionally pipe a thin line of melted chocolate around the seam.
- Decorate & set: Drizzle with melted white chocolate and add sprinkles/peppermint. Let set 10 minutes at cool room temp.
- Serve: Place 1 bomb in a large mug. Pour 240 ml (1 cup) very hot milk (80–85°C / 175–185°F) over the bomb and stir until dissolved. Enjoy!