The Best Fluffy Pancakes recipe you will fall in love with. Full of tips and tricks to help you make the best pancakes.
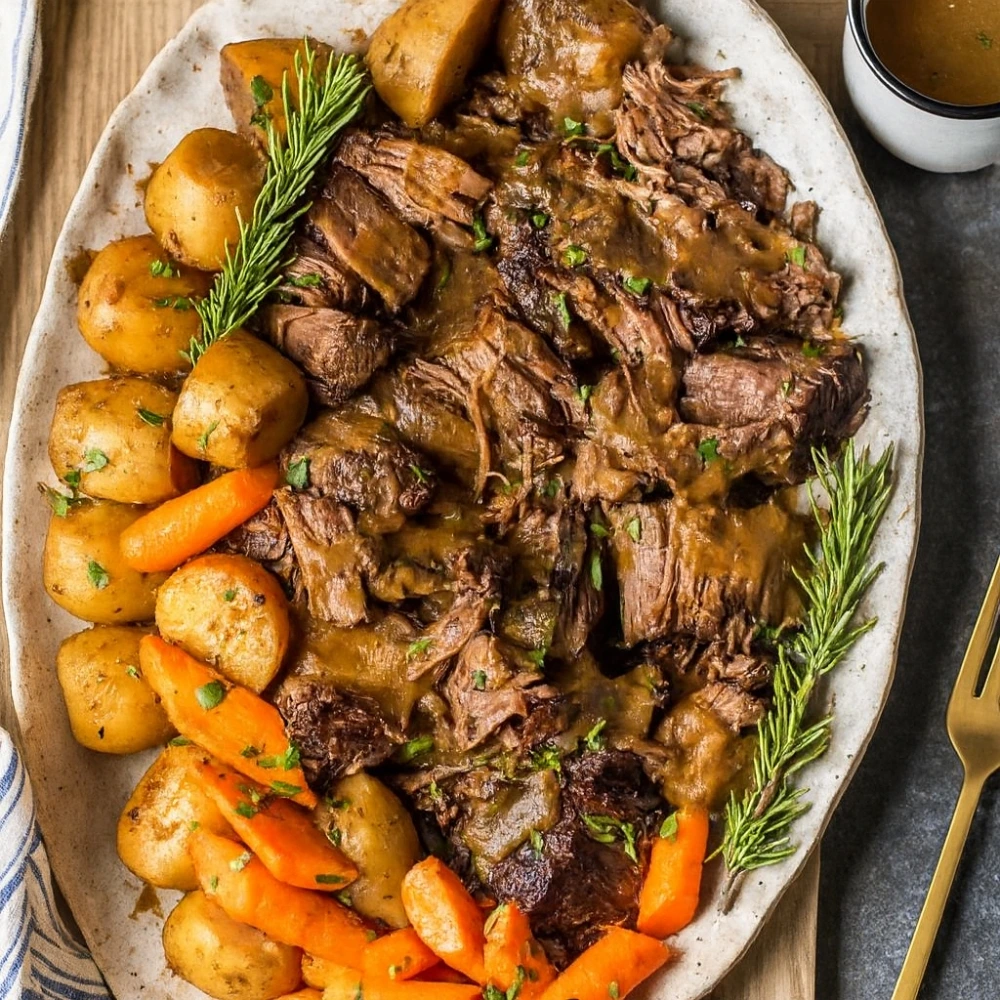
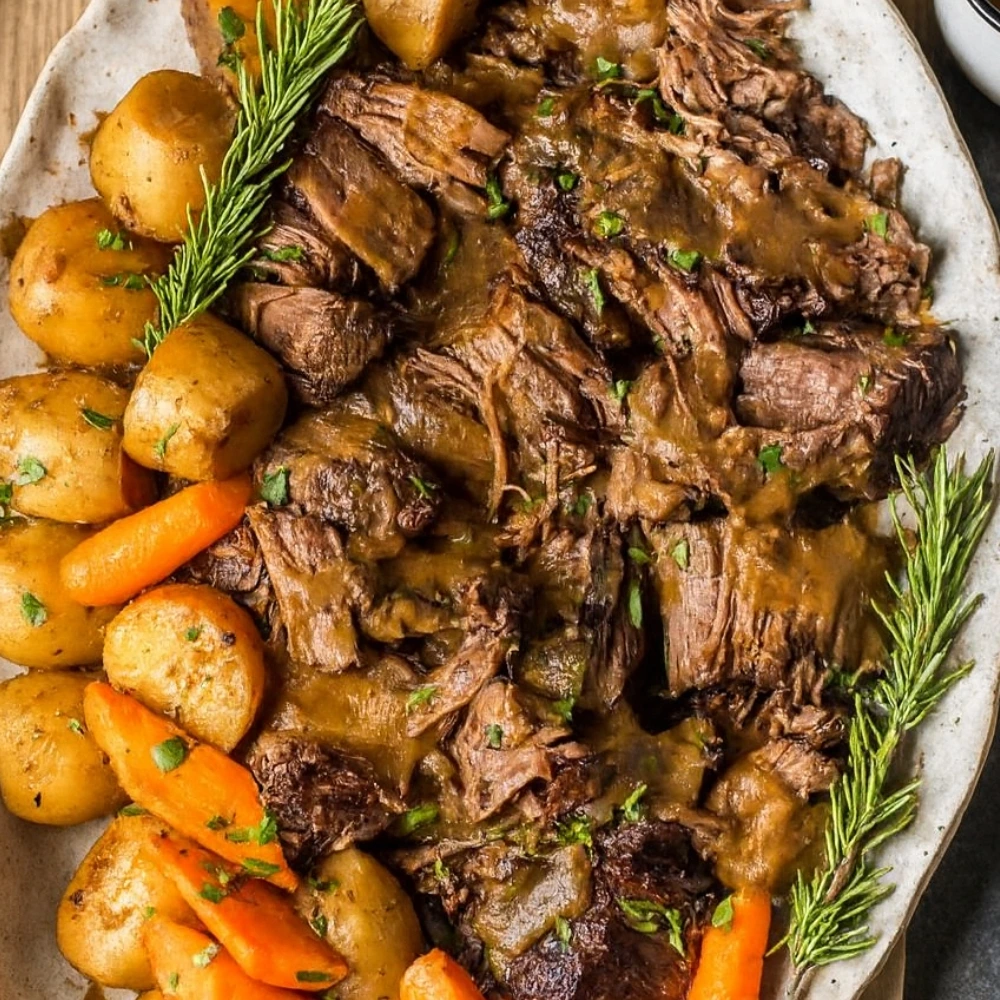
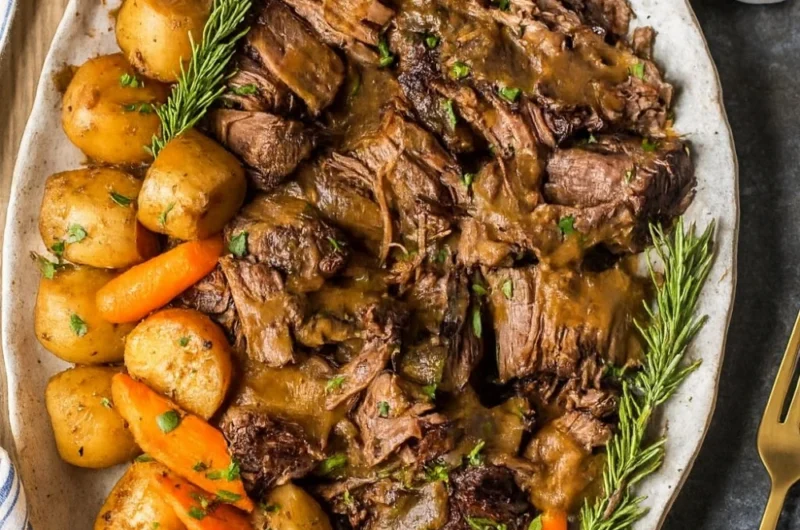
Instant Pot Pot Roast (Tender Every Time + Time Chart)
If you’ve ever pulled a tough, chewy roast from your Instant Pot and wondered what went wrong, you’re not alone. The difference between melt-in-your-mouth tender and disappointingly tough comes down to precise timing and technique—not luck. This guide gives you the exact pressure cooker pot roast time per pound, plus the science behind why it works.
The Cook Time Calculator: Your Foolproof Chart
This is the data table that eliminates guesswork. Whether you’re working with fresh meat or cooking an Instant Pot roast from frozen, these times deliver consistent tenderness.
| Roast Weight | Fresh Cook Time | Frozen Cook Time | Natural Release Time |
|---|---|---|---|
| 3 pounds | 60 minutes | 85 minutes | 15 minutes |
| 4 pounds | 80 minutes | 105 minutes | 15 minutes |
| 5 pounds | 100 minutes | 125 minutes | 15 minutes |
Pro Tip: Always add 15 minutes of natural pressure release after cooking. This step allows the meat fibers to relax and reabsorb moisture—skip it, and your roast will be tough no matter how long you cooked it.
The Science of Tenderness: Why Timing Matters
Understanding what happens inside your pressure cooker transforms you from someone following a recipe to someone who can troubleshoot any roast issue.
The Two-Stage Process
Stage 1: The Maillard Reaction (Searing)
When you sear your chuck roast before pressure cooking, you’re creating complex flavor compounds through the Maillard reaction. Those golden-brown bits (called “fond”) on the bottom of your pot aren’t just pretty—they’re concentrated umami that will become your gravy base. This step adds depth that competitors’ recipes often skip.
Stage 2: Collagen Breakdown (Pressure Cooking)
Chuck roast contains abundant connective tissue and marbleized fat—exactly what makes it perfect for pressure cooking. Under high pressure, collagen breaks down into gelatin, transforming tough fibers into tender, shreddable meat. The braising liquid conducts heat evenly while keeping everything moist.
Why Is My Instant Pot Roast Tough?
The most common culprit? Quick Release. When you manually release pressure immediately after cooking, the sudden temperature drop causes meat fibers to seize up and squeeze out moisture. It’s like shocking a hot dish with ice water—the proteins contract violently.
The Solution: Always use natural release for at least 15 minutes. This gradual pressure decrease lets the meat fibers relax naturally, maintaining their tenderness and juice retention.
The Perfect Instant Pot Pot Roast Recipe
Ingredients
For the Roast:
- 4 lb boneless chuck roast
- 2 tablespoons olive oil
- 1 large onion, quartered
- 4 carrots, cut into 3-inch pieces
- 4 celery stalks, cut into 3-inch pieces
- 6 cloves garlic, smashed
- 1 cup beef broth (or red wine)
- 2 tablespoons balsamic vinegar
- 2 tablespoons tomato paste
- 2 bay leaves
- 1 teaspoon dried thyme
- Salt and black pepper to taste
For the Gravy:
- 2 tablespoons cornstarch (or xanthan gum for keto)
- 3 tablespoons cold water
Instructions
1. Prep the Meat
Pat the roast completely dry with paper towels. Season generously with salt and pepper on all sides. This removes surface moisture for better searing.
2. Sear the Roast
Select the “Sauté” function on your Instant Pot. Heat olive oil until shimmering. Sear the roast for 4-5 minutes per side until deeply browned. Don’t move it—let the crust form. Remove and set aside.
3. Deglaze the Pot
Add beef broth to the hot pot. Scrape the bottom vigorously with a wooden spoon to lift all the fond (those brown bits). This step is crucial for preventing the burn notice and building flavor.
4. Layer for Success
Place onions, carrots, and celery in the bottom of the pot (creating a vegetable “rack”). Position the roast on top of the vegetables. Add garlic, balsamic vinegar, tomato paste, bay leaves, and thyme.
5. Pressure Cook
Secure the lid and set the valve to “Sealing.” Select “Pressure Cook” or “Manual” on High Pressure for 80 minutes (for a 4 lb roast—adjust using the chart above).
6. Natural Release
When the timer beeps, allow the pot to sit undisturbed for 15 minutes. Then carefully turn the valve to “Venting” to release any remaining pressure.
7. Make the Gravy
Remove the roast and vegetables. Select “Sauté” again. Mix cornstarch with cold water, then stir into the cooking liquid. Simmer for 2-3 minutes until thickened.
8. Serve
Slice or shred the roast. Spoon gravy over everything and serve with mashed potatoes or cauliflower mash.
Dietary Swaps
Keto Instant Pot Pot Roast: Replace cornstarch with xanthan gum (use only 1/2 teaspoon—it’s very powerful). Skip carrots or use radishes instead for a low-carb option.
Paleo Version: Use arrowroot powder instead of cornstarch for thickening.
Troubleshooting: Avoiding the Dreaded “Burn” Notice
The “Burn” error appears when the Instant Pot detects food scorching on the bottom. Here’s how to prevent it every time:
Prevention Strategies
Always Deglaze Thoroughly
After searing, those fond bits must be scraped up completely. If any remain stuck to the bottom, they’ll burn during pressure cooking.
Layer Vegetables First
Placing onions, carrots, and celery beneath the roast creates a protective barrier between the meat and the pot bottom, distributing heat more evenly.
Use Enough Liquid
Your Instant Pot needs at least 1 cup of thin liquid (broth, wine, or water) to build pressure. Thick liquids like tomato sauce don’t count toward this minimum.
Don’t Overfill
Keep total contents below the Max Fill line. Overfilling prevents proper pressure buildup and increases burn risk.
If You Get a Burn Notice
Don’t panic. Release pressure, open the lid, and check the bottom. Scrape any stuck bits, add another 1/2 cup liquid, and restart the pressure cooking cycle. Your roast will be fine.
FAQ: Your Instant Pot Pot Roast Questions Answered
Can I cook this from frozen?
Absolutely. Add 25 minutes to your cook time (see the chart above). You won’t be able to sear frozen meat, so skip that step and add 1 tablespoon of browning sauce or Worcestershire for color and depth.
Do I have to sear the meat?
Technically, no—but you’ll sacrifice significant flavor. Searing creates hundreds of flavor compounds through caramelization that pressure cooking alone cannot replicate. If you’re short on time, skip it, but know you’re leaving depth on the table.
Can I use a rump roast instead of chuck?
Chuck roast is ideal because of its high connective tissue content, which breaks down into gelatin. Rump roast is leaner and can turn out drier. If using rump roast, reduce cook time by 5 minutes per pound and add 2 extra tablespoons of butter to compensate for less marbleized fat.
Why did my roast fall apart too much?
If your meat disintegrated into shreds before you could slice it, you overcooked it. Reduce cook time by 10 minutes next time. Some roasts (especially grass-fed beef) cook faster than conventional grain-fed.
Can I cook vegetables separately?
Yes. If you prefer firmer vegetables, remove them after 20 minutes of cooking using tongs, then continue cooking just the roast. Return vegetables during the natural release period to rewarm.
Complete Your Comfort Food Meal
This Instant Pot pot roast pairs perfectly with classic sides. Consider these complementary recipes to round out your dinner:
- Instant Pot Garlic Mashed Potatoes – Creamy, fluffy, and ready in 15 minutes
- Roasted Brussels Sprouts with Balsamic Glaze – Add a crispy, tangy contrast
- Easy No-Knead Dinner Rolls – Perfect for soaking up that rich gravy
The Bottom Line: Master the Method, Not Just the Recipe
Making a perfect Instant Pot pot roast isn’t about following Grandma’s intuition—it’s about understanding the science. When you calculate pressure cooker pot roast time per pound correctly, deglaze thoroughly, and commit to natural release, you’ll produce restaurant-quality results every single time.
The data table above removes all uncertainty. Whether you’re cooking fresh or handling an Instant Pot roast from frozen, you now have the exact formula for tender, fall-apart meat that’ll have your family asking for seconds.
Ready to make this tonight? The most important numbers to remember: 20 minutes per pound, 15 minutes natural release, and always deglaze after searing. Get those three right, and you’ll never serve tough pot roast again.
Instant Pot Pot Roast (Tender Every Time + Time Chart)
Course: DinnerCuisine: AmericanServings
6
servingsPrep time
15
minutesCooking time
1
hour30
minutesCalories
480
kcalIngredients
3–4 lb (1.4–1.8 kg) beef chuck roast, trimmed
2 tsp kosher salt
1 tsp black pepper
1 tsp garlic powder
1 tsp onion powder
1–2 tbsp olive oil
1 large yellow onion, sliced
4 cloves garlic, minced
4 large carrots, cut into 2-inch chunks
1½ lb (680 g) baby potatoes (or gold potatoes cut into chunks)
1½ cups (360 ml) beef broth (low sodium)
2 tbsp tomato paste
1 tbsp Worcestershire sauce
1 tsp dried thyme (or 3 sprigs fresh)
1 tsp dried rosemary (or 2 sprigs fresh)
1 bay leaf
2 tbsp cornstarch + 2 tbsp cold water (slurry), optional for gravy
Directions
- Season & prep: Pat the chuck roast dry. Mix salt, pepper, garlic powder, and onion powder; rub all over the meat.
- Sauté: Set Instant Pot to Sauté (High). Add olive oil and sear the roast 3–4 minutes per side until well browned. Transfer to a plate.
- Aromatics: Add onion; sauté 2–3 minutes, scraping brown bits. Stir in garlic for 30 seconds.
- Deglaze: Stir in tomato paste, then pour in beef broth and Worcestershire. Scrape the bottom well to prevent the burn warning.
- Load pot: Return roast and any juices. Add thyme, rosemary, bay leaf. Arrange carrots and potatoes on top/around the roast (for firmer veg, cook them later in step 8).
- Pressure cook: Seal. Cook on Manual/Pressure Cook (High) for 60 minutes for a 3 lb roast or 70 minutes for 4 lb.
- Release: Allow 15 minutes natural release, then quick release remaining pressure. Remove bay leaf and herb stems. Transfer roast and vegetables to a platter; tent with foil.
- (Optional—firmer veg): If you held back the vegetables, add them now to the cooking liquid, pressure cook 3 minutes (High), quick release.
- Gravy (optional): Set to Sauté. Stir cornstarch slurry into simmering juices; cook 1–2 minutes until glossy and thickened.
- Serve: Shred or slice roast against the grain. Spoon gravy over meat and vegetables. Taste and adjust seasoning.