The Best Fluffy Pancakes recipe you will fall in love with. Full of tips and tricks to help you make the best pancakes.
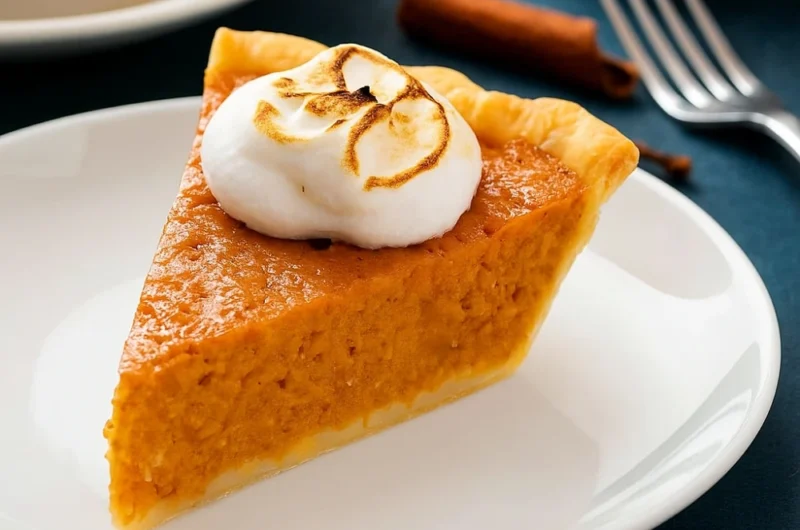
Sweet Potato Pie: A Tested Heirloom Recipe (No Strings, No Soggy Bottoms)
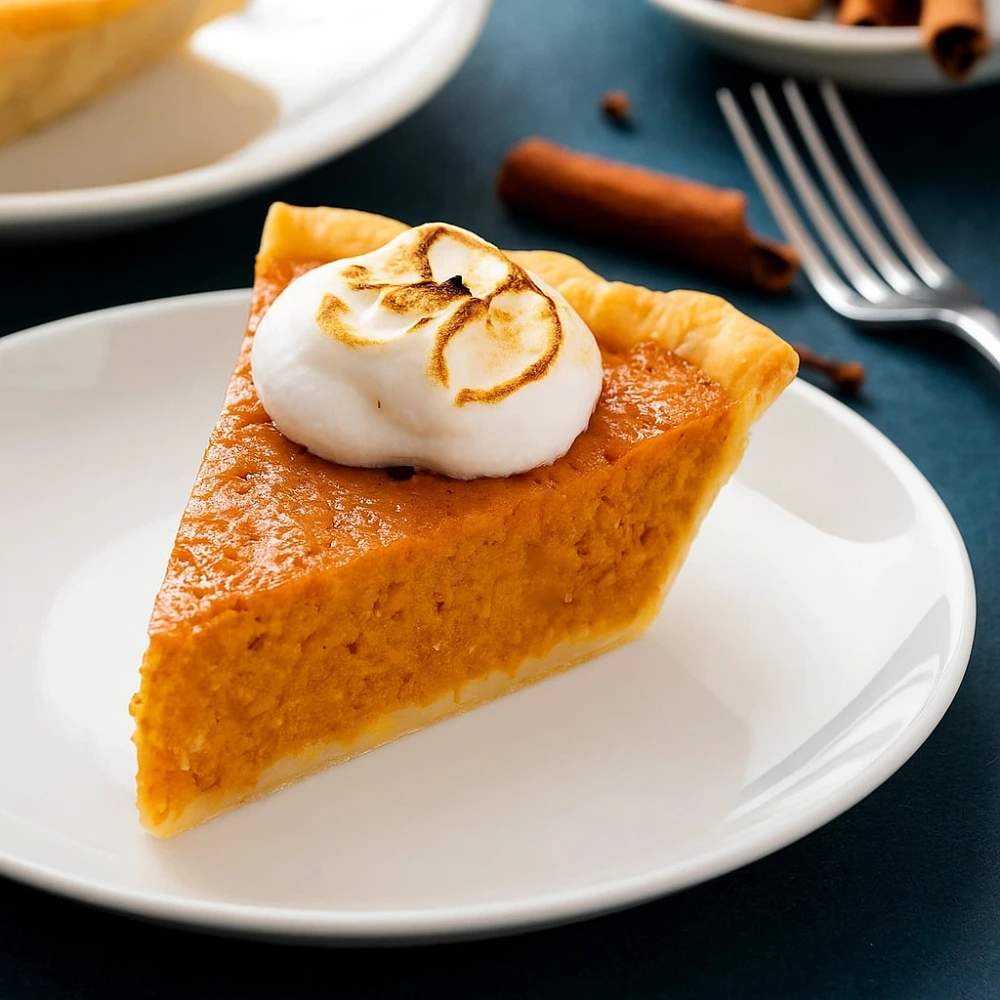
There’s an unspoken truth in Southern kitchens: pumpkin pie is for spice, but sweet potato pie is for soul. While pumpkin relies on cinnamon and nutmeg to carry its flavor, sweet potato pie stands on its own—caramelized, buttery, and rich with the kind of depth that turns first-time tasters into lifelong converts.
But here’s the problem: making sweet potato pie at home can feel like navigating a minefield. Will the filling turn out stringy? Will the crust go soggy? Will you slice into what looks like perfection only to find a runny, undercooked mess?
We tested boiling, steaming, and roasting sweet potatoes to answer one question: which method guarantees a silky, caramelized filling every single time? After comparing texture, moisture content, and flavor intensity, we found our answer—and it’s going to change how you bake this beloved dessert forever.
Sweet Potato Pie at a Glance
| Element | Details |
|---|---|
| Texture | Silky, custard-like (not fibrous) |
| Flavor Profile | Caramelized, vanilla-forward, nutmeg warmth |
| Prep Time | 20 minutes (active) |
| Best Potato | Red Garnet or Jewel varieties |
| Secret Weapon | Brown butter (adds nutty depth) |
| Serving Temperature | Room temperature or slightly chilled |
The Science of the Spud: Why Roasting Wins Every Time
Here’s the definitive answer: roasting sweet potatoes produces superior sweet potato pie filling because it concentrates sugars through caramelization while evaporating excess moisture.
When you boil sweet potatoes, they absorb water—sometimes up to 20% of their weight. That extra liquid has nowhere to go but into your pie filling, creating the dreaded runny center that refuses to set even after proper baking time.
Steaming is better than boiling, but it still introduces moisture and does nothing for flavor development.
Roasting, however, transforms the potato entirely. As the starches heat above 300°F, they convert to natural sugars. You’ll notice a caramelized syrup actually oozing from the skin of properly roasted sweet potatoes—that sticky, amber nectar is concentrated flavor that will make your pie unforgettable.
The roasting method: Pierce potatoes with a fork several times (this prevents explosions), wrap in foil, and roast at 400°F for 60-75 minutes until they collapse when gently squeezed. The potatoes should be soft enough to scoop out with a spoon, and the flesh should have a slightly darker, more orange hue than raw.
Ingredients & Why They Matter
The Foundation: Choosing Your Sweet Potatoes
Not all sweet potatoes are created equal for pie-making. Jewel and Garnet varieties are your best options—they have deep orange flesh, natural sweetness, and a moist (but not watery) texture. Avoid Japanese or white sweet potatoes, which are starchier and drier.
You’ll need about 2 pounds of sweet potatoes, which yields approximately 2 cups of puree.
The Dairy Decision
This is where many recipes get confusing. Here’s the breakdown:
- Evaporated milk (what we use): Concentrated milk with 60% of the water removed. Creates a custard-like texture without excessive sweetness.
- Sweetened condensed milk: Pre-sweetened and thicker. Results in an overly sweet, dense filling.
- Heavy cream: Too rich; overwhelms the sweet potato flavor.
We use 1 can (12 oz) of evaporated milk for the perfect balance.
The Secret: Brown Butter
Here’s where our recipe diverges from traditional approaches. Instead of using plain melted butter, we brown 6 tablespoons of butter until it develops nutty, toasted notes. This single upgrade adds incredible depth that makes people ask, “What’s different about this pie?”
The Spice Cabinet
- Cinnamon (1½ teaspoons): Warmth without dominance
- Nutmeg (½ teaspoon): The classic pairing
- Mace (¼ teaspoon): A secret “old school” spice that adds floral complexity
Dietary Swaps That Actually Work
For Vegan Sweet Potato Pie:
- Replace evaporated milk with full-fat coconut cream
- Substitute eggs with 3 flax eggs (3 tablespoons ground flaxseed + 9 tablespoons water, refrigerated for 15 minutes)
- Use vegan butter for browning
For Gluten-Free Crust:
- Create a press-in crust with 1½ cups almond flour, 3 tablespoons melted coconut oil, 2 tablespoons maple syrup, and ¼ teaspoon salt
Step-by-Step Instructions: The Foolproof Method
Step 1: Roast the Sweet Potatoes
- Preheat oven to 400°F
- Pierce potatoes 4-5 times with a fork (crucial for steam release)
- Wrap individually in foil
- Roast for 60-75 minutes until collapsing-soft
- Let cool for 10 minutes, then scoop flesh into a bowl
Step 2: Eliminate the Strings (The Game-Changer)
This is the step that separates amateur pies from masterpieces. Sweet potatoes contain fibrous strands that create an unpleasant stringy texture.
The solution: Pass your roasted sweet potato flesh through a fine-mesh sieve or food mill. Press firmly with a spatula or the back of a spoon. You’ll see the strings accumulate in the sieve—discard them. This takes 3 minutes and transforms your filling from “good” to “Where did you learn to bake like this?”
Step 3: Brown the Butter & Temper the Eggs
- Melt 6 tablespoons butter in a small saucepan over medium heat
- Continue cooking, swirling occasionally, until it turns golden brown and smells nutty (about 5 minutes)
- Whisk together sieved sweet potato, brown butter, ¾ cup sugar, and spices
- Tempering technique: Beat 3 eggs in a separate bowl, then slowly drizzle in a ladle of the warm sweet potato mixture while whisking constantly. This gradually raises the egg temperature without scrambling them.
- Pour tempered eggs back into the sweet potato mixture along with evaporated milk and 1 teaspoon vanilla extract
Step 4: Blind Bake the Crust
To prevent the soggy bottom that ruins so many pies:
- Roll out your pie dough and fit it into a 9-inch pie pan
- Crimp edges decoratively
- Dock (prick with a fork) the bottom
- Line with parchment paper and fill with pie weights or dried beans
- Bake at 375°F for 15 minutes
- Remove weights and parchment, bake 5 more minutes
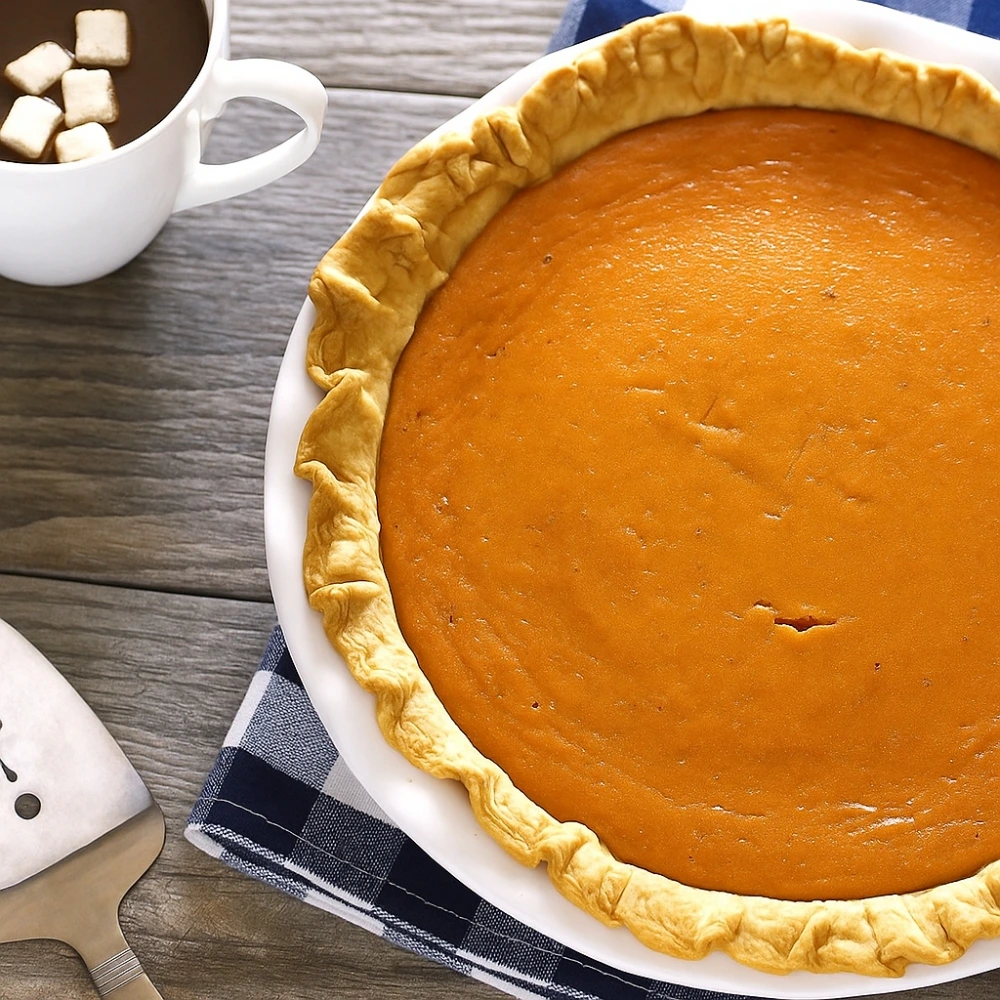
- Pour in filling and bake at 350°F for 50-60 minutes until center jiggles slightly but edges are set
Troubleshooting: Why Is My Pie…?
…Runny? You likely boiled your potatoes (introducing excess water) or underbaked the pie. The center should register 175°F on an instant-read thermometer.
…Cracking on Top? Your pie cooled too rapidly. After baking, turn off the oven, crack the door open, and let the pie cool gradually for 30 minutes before removing.
…Stringy? You skipped the sieving step. Always pass your sweet potato puree through a fine-mesh strainer.
…Too Sweet? Reduce sugar to ½ cup and add a pinch of salt to balance flavors.
Storage & Freezing
Can you freeze sweet potato pie?
Yes! Sweet potato pie freezes beautifully for up to 3 months. Let the pie cool completely, wrap tightly in plastic wrap, then aluminum foil. Thaw overnight in the refrigerator before serving.
Refrigerator storage: Cover and refrigerate for up to 4 days. The pie actually improves after a day as flavors meld.
A Slice of History
Sweet potato pie’s journey to American tables is a story of resilience and adaptation. Enslaved West Africans brought knowledge of cultivating yams to the Americas, but when those tubers proved difficult to grow, they turned to the native sweet potato as a substitute. What emerged was something entirely new—a dessert that honored African culinary traditions while creating something distinctly American. Today, sweet potato pie remains a cornerstone of soul food and holiday tables, a delicious reminder of cultural ingenuity.
Ready to bake? The beauty of this recipe is that once you understand the science—roasting for flavor, sieving for texture, tempering for smoothness—you’ll never fear sweet potato pie again. This is the pie that converts skeptics, impresses grandmothers, and disappears from the table before the coffee is poured.
Sweet Potato Pie: A Tested Heirloom Recipe (No Strings, No Soggy Bottoms)
Course: cake ideas, DessertsCuisine: AmericanServings
8
servingsPrep time
20
minutesCooking time
55
minutesCalories
400
kcalIngredients
1 unbaked 9-inch (23 cm) pie crust
2 cups mashed sweet potato (about 500 g cooked & peeled; ~2 large)
1/2 cup (113 g) unsalted butter, melted and slightly cooled
1/2 cup (100 g) granulated sugar
1/2 cup (110 g) light brown sugar, packed
3/4 cup (180 ml) evaporated milk (or whole milk)
2 large eggs (about 100 g), at room temperature
1 tsp vanilla extract (5 ml)
1 tsp ground cinnamon (2.5 g)
1/2 tsp ground nutmeg (1 g)
1/4 tsp ground ginger (optional)
1/2 tsp fine salt (3 g)
Directions
- Heat oven to 200 °C / 400 °F. Place a rack in the lower-middle position.
- Blind-ready the crust (optional but helpful): Chill the pie shell while you make the filling.
- Mash sweet potatoes: Cook until very tender (roast, steam, or boil). Mash until smooth; measure 2 cups (500 g).
- Make filling: In a bowl, whisk mashed sweet potato with melted butter. Add sugars, evaporated milk, eggs, vanilla, spices, and salt. Whisk until silky and lump-free.
- Strain (pro tip): For extra-smooth texture, push the filling through a sieve into a clean bowl.
- Fill & bake hot: Pour into the chilled crust. Bake 10 minutes at 200 °C / 400 °F to set the edges.
- Reduce heat: Without opening the door long, lower to 175 °C / 350 °F and bake 35–45 minutes more until the edges are set and the center jiggles slightly (internal temp ~75–80 °C / 170–175 °F).
- Cool: Set on a rack until room temperature, at least 2 hours, for clean slices.
- Serve: Plain or with whipped cream. Refrigerate leftovers up to 3–4 days; best within 24–48 hours.