The Best Fluffy Pancakes recipe you will fall in love with. Full of tips and tricks to help you make the best pancakes.
The Ultimate Chocolate Tart Guide
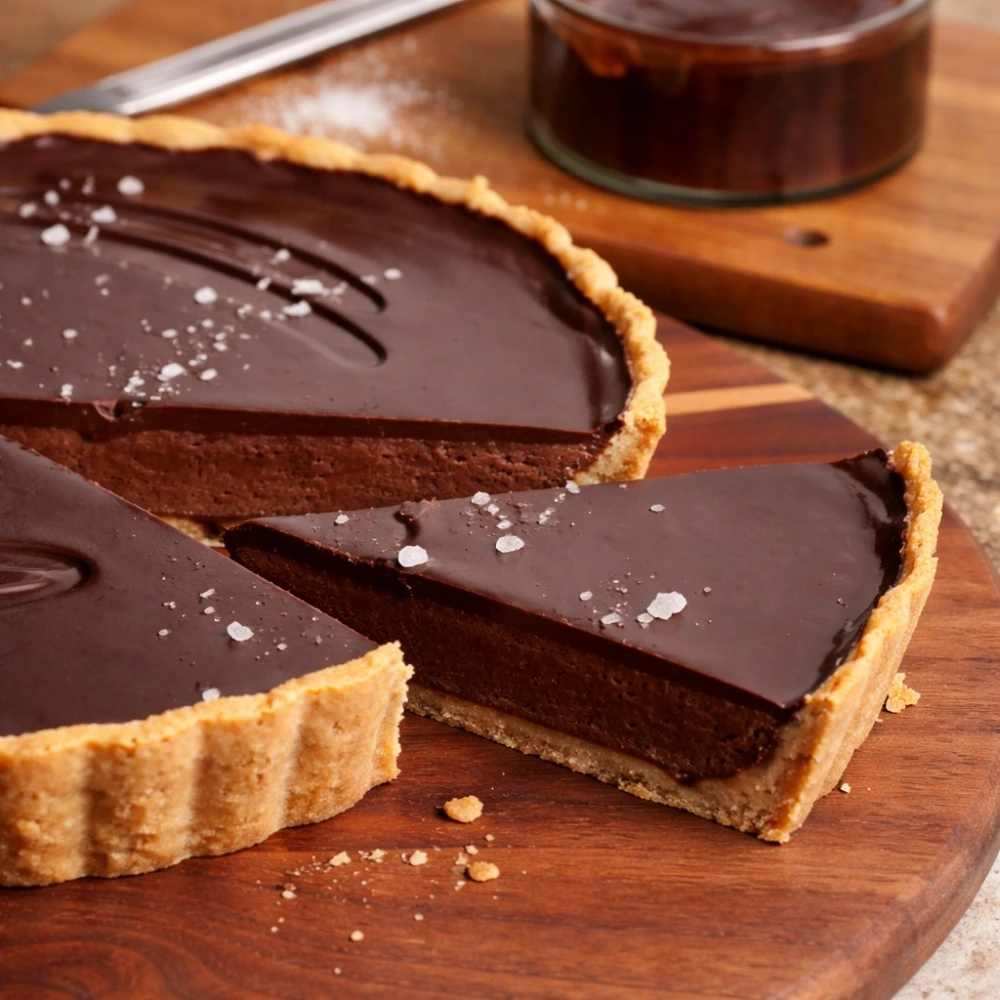
Whether you have 15 minutes or 2 hours, here’s how to achieve the perfect chocolate tart that will impress your guests and satisfy your deepest dessert cravings. A chocolate tart is one of those show-stopping desserts that looks incredibly sophisticated but can actually be surprisingly simple to master—if you know the right techniques.
Quick Comparison: Choose Your Chocolate Tart Method
| Method | Prep Time | Texture | Difficulty | Best For |
|---|---|---|---|---|
| 15-Minute No-Bake | 15 min + 2hr chill | Silky/Dense | Beginner | Last-minute entertaining |
| Patisserie Classic | 90 minutes | Crisp/Airy | Intermediate | Special occasions |
| Dairy-Free/Vegan | 45 minutes | Rich/Smooth | Beginner | Dietary restrictions |
The Science of Ganache: Why Ratios Matter More Than You Think
Before diving into recipes, let’s talk about the heart of any chocolate tart: the ganache filling. Most recipes throw around the classic 1:1 ratio of chocolate to cream, but here’s what professional pastry chefs know—that ratio isn’t universal.
What Is the Best Chocolate for a Tart?
For the best emulsion and that signature glossy finish, use couverture chocolate with 60-70% cocoa solids. Why? Couverture contains a higher percentage of cocoa butter (at least 31%), which creates a smoother, more stable ganache that sets with the perfect texture.
The Golden Ratio: Why 1:1 Isn’t Always Right for Tarts
- For a sliceable, firm filling: Use a 2:1 ratio (chocolate to cream)
- For a silky, truffle-like center: Stick with 1:1
- For a mousse-like texture: Try 1:2
The cocoa percentage affects how much liquid your chocolate can hold. Dark chocolate with 70% cocoa needs less cream than milk chocolate at 40%. This is because higher cocoa content means less sugar, and sugar affects moisture absorption.
Pro Tip: Temperature is everything. Heat your cream to exactly 160°F (71°C)—hot enough to melt the chocolate completely, but not so hot that it breaks the emulsion.
Method A: The 15-Minute Miracle (No-Bake Excellence)
Perfect for busy weeknights or unexpected dinner guests, this no-bake chocolate tart delivers maximum impact with minimal effort.
The Faux-Pastry Base (Better Than Oreos)
Instead of the standard crushed cookie crust, we’re upgrading to a shortbread and browned butter combination that mimics the buttery richness of actual pastry.
Ingredients for the base:
- 2 cups crushed shortbread cookies (like Walker’s)
- 4 tablespoons browned butter (not regular melted butter)
- 2 tablespoons powdered sugar
- Pinch of sea salt
Step-by-step instructions:
- Blitz the base: Pulse shortbread in a food processor until fine crumbs form. Brown your butter in a small saucepan until it smells nutty and turns golden-amber. Mix the browned butter with the crumbs, sugar, and salt until it resembles wet sand.
- Press and chill: Press the mixture firmly into a 9-inch tart pan with a removable bottom. Use the bottom of a glass to create an even layer. Refrigerate for 15 minutes while you make the ganache.
- Make the ganache: Heat 1 cup heavy cream until it just begins to steam. Pour over 8 ounces chopped dark chocolate. Let sit for 2 minutes, then stir from the center outward until completely smooth and glossy.
- Pour and set: Pour the warm ganache over the chilled crust. Tap the pan gently on the counter to release air bubbles.
- The Chill Factor (Crucial): Refrigerate for at least 2 hours, or until the ganache is completely set. For the best slicing, let it chill for 4 hours or overnight.
Why this works: The browned butter adds a caramelized depth that regular melted butter can’t achieve, making your “shortcut” tart taste like you spent hours on it.
Method B: The Patisserie Standard (Simplified)
This is your go-to method for special occasions when you want that authentic French bakery experience—crisp pastry shell filled with velvety chocolate ganache.
The Press-In Shortcrust Revolution
Traditional pâte sucrée requires rolling pins, marble surfaces, and often results in tears (both in the dough and from the baker). Our press-in method gives you all the buttery crunch of a French tart shell, none of the rolling pin stress.
The simplified pastry:
- 1½ cups all-purpose flour
- ½ cup powdered sugar
- ¼ teaspoon salt
- 10 tablespoons cold butter, cubed
- 1 egg yolk
- 1 tablespoon cold water
Instructions:
- Pulse flour, sugar, and salt in a food processor. Add cold butter and pulse until the mixture resembles coarse meal.
- Add egg yolk and water. Pulse just until the dough begins to clump together.
- Press the dough directly into your tart pan, working from the center outward. Use your fingers to create an even ¼-inch thickness.
- The no-blind-bake trick: Freeze the shell for 20 minutes, then bake at 350°F for 20-25 minutes until golden. The frozen shell prevents shrinkage without pie weights.
The patisserie ganache:
- 10 ounces bittersweet chocolate (65-70% cocoa)
- 1¼ cups heavy cream
- 2 tablespoons butter (for extra shine)
- 1 tablespoon corn syrup (prevents graininess)
Heat cream until steaming, add to chopped chocolate, wait 2 minutes, then stir. Add butter and corn syrup at the end for a professional glossy finish. Pour into your cooled tart shell and refrigerate for 3-4 hours.
Method C: The Dairy-Free Option (Without Compromise)
Who says vegan chocolate tarts can’t be decadent? This method uses coconut cream to create a rich, silky ganache that rivals any traditional recipe.
Key substitutions:
- Full-fat coconut cream (refrigerated overnight, use only the thick cream)
- High-quality dark chocolate (check it’s dairy-free)
- Almond or oat crust base
The technique remains the same as Method A, but the texture is slightly firmer and even more intensely chocolatey.
The Fail-Safe FAQ: Your Chocolate Tart Questions Answered
How Do I Fix a Split Ganache?
If your ganache looks grainy or separated, don’t panic. Add 1-2 tablespoons of warm milk or cream and whisk vigorously. The liquid helps re-emulsify the mixture. Alternatively, use an immersion blender for 30 seconds—this forces the fat and liquid back together.
Why Is My Tart Shell Soggy?
Three common culprits:
- Underbaked crust: It should be golden brown, not pale
- Hot ganache on warm crust: Always let your crust cool completely
- No barrier layer: Brush the baked crust with melted chocolate and let it set before adding ganache—this creates a waterproof seal
How Long Does a Chocolate Tart Last in the Fridge?
A properly stored chocolate tart will keep for 4-5 days in the refrigerator. Cover it loosely with plastic wrap or store it in an airtight container. Let it sit at room temperature for 15-20 minutes before serving for the best texture and flavor.
Can I Freeze a Chocolate Tart?
Absolutely! Chocolate tarts freeze beautifully for up to 2 months. Wrap the entire tart (or individual slices) tightly in plastic wrap, then aluminum foil. Thaw overnight in the refrigerator. The texture might be slightly denser after freezing, but the flavor remains excellent.
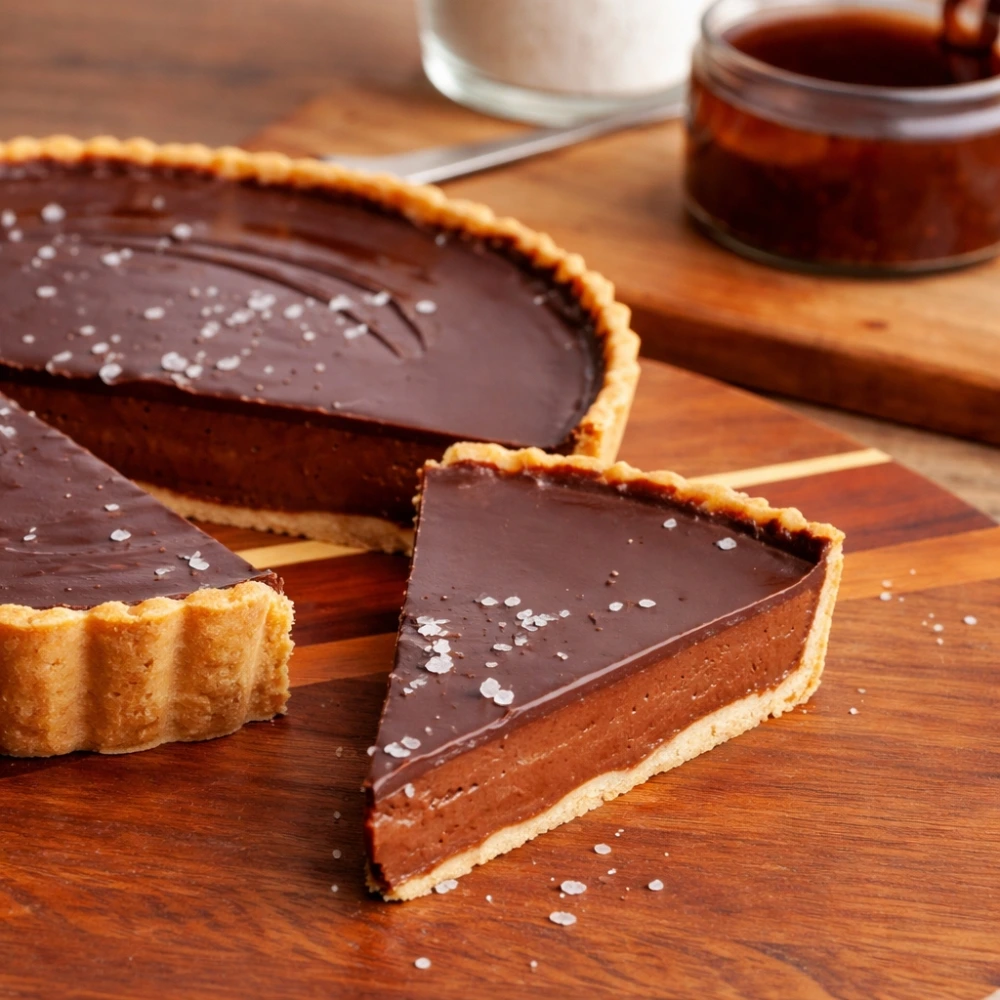
Elevate Your Chocolate Tart: Finishing Touches
A basic chocolate tart is delicious, but these finishing touches transform it into a showstopper:
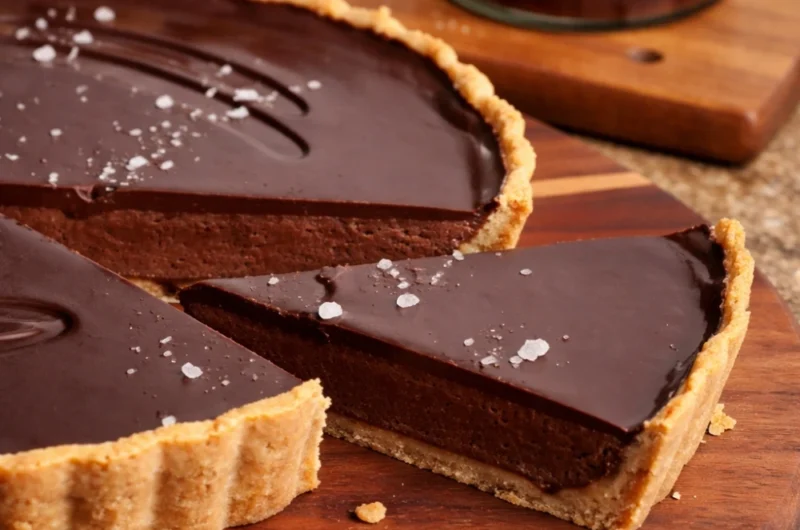
- Sea salt flakes: Sprinkle Maldon or fleur de sel over the ganache just before it sets
- Gold leaf: For ultimate elegance at special celebrations
- Fresh berries: Raspberries and strawberries add brightness and cut through the richness
- Whipped cream rosettes: Pipe around the edges for classic French presentation
- Cocoa nib garnish: Adds textural contrast and intense chocolate flavor
The Bottom Line
Creating a perfect chocolate tart doesn’t require professional training or exotic ingredients. Whether you choose the speedy no-bake method, the classic French approach, or the dairy-free option, success comes down to three things: quality chocolate, proper ratios, and patience during the setting process.
Start with the 15-minute method to build your confidence, then graduate to the patisserie standard when you’re ready to impress. Your chocolate tart journey is about to begin—and trust me, once you master this dessert, you’ll find yourself making it again and again.
Ready to explore more decadent desserts? Try your hand at French silk pie or flourless chocolate cake for similar rich, chocolate-forward treats that will satisfy any sweet tooth.
The Ultimate Chocolate Tart Guide
Course: cake ideas, DessertsCuisine: FrenchServings
4
servingsPrep time
25
minutesCooking time
30
minutesCalories
420
kcalIngredients
Cocoa Tart Crust
1 ¼ cups (160 g) all-purpose flour
¼ cup (25 g) unsweetened cocoa powder
¼ cup (50 g) granulated sugar
¼ tsp fine salt
½ cup (115 g) cold unsalted butter, cubed
1 large egg yolk
1–2 tbsp cold water (as needed)
Chocolate Ganache Filling
10 oz (285 g) good-quality dark chocolate (60–70%), finely chopped
1 cup (240 ml) heavy cream
2 tbsp (28 g) unsalted butter
1 tsp pure vanilla extract
Pinch fine salt
Optional Toppings
Flaky sea salt, fresh berries, or shaved chocolate
Directions
- Make the crust. In a bowl, whisk flour, cocoa, sugar, and salt. Cut in cold butter until sandy. Add egg yolk and just enough cold water to clump.
- Form & chill. Press dough into a flat disc, wrap, and chill 20–30 min.
- Line the pan. Roll to ~⅛ in (3 mm). Fit into a 9-in (23 cm) tart pan with removable bottom; trim edges. Prick base with a fork and chill 15 min.
- Blind-bake. Heat oven to 350°F (175°C). Line shell with parchment and weights. Bake 12 min, remove weights, bake 8–10 min more until dry. Cool completely.
- Make ganache. Place chopped chocolate in a heatproof bowl. Heat cream to just simmering; pour over chocolate. Stand 2 min, then whisk gently until smooth. Whisk in butter, vanilla, and salt.
- Fill & set. Pour ganache into cooled crust; tap to release bubbles. Chill until set, ~1–2 hours (or overnight for cleanest slices).
- Finish & serve. Garnish with flaky salt/berries/shavings. Slice with a hot, wiped knife and serve slightly chilled or at cool room temp.