The Best Fluffy Pancakes recipe you will fall in love with. Full of tips and tricks to help you make the best pancakes.
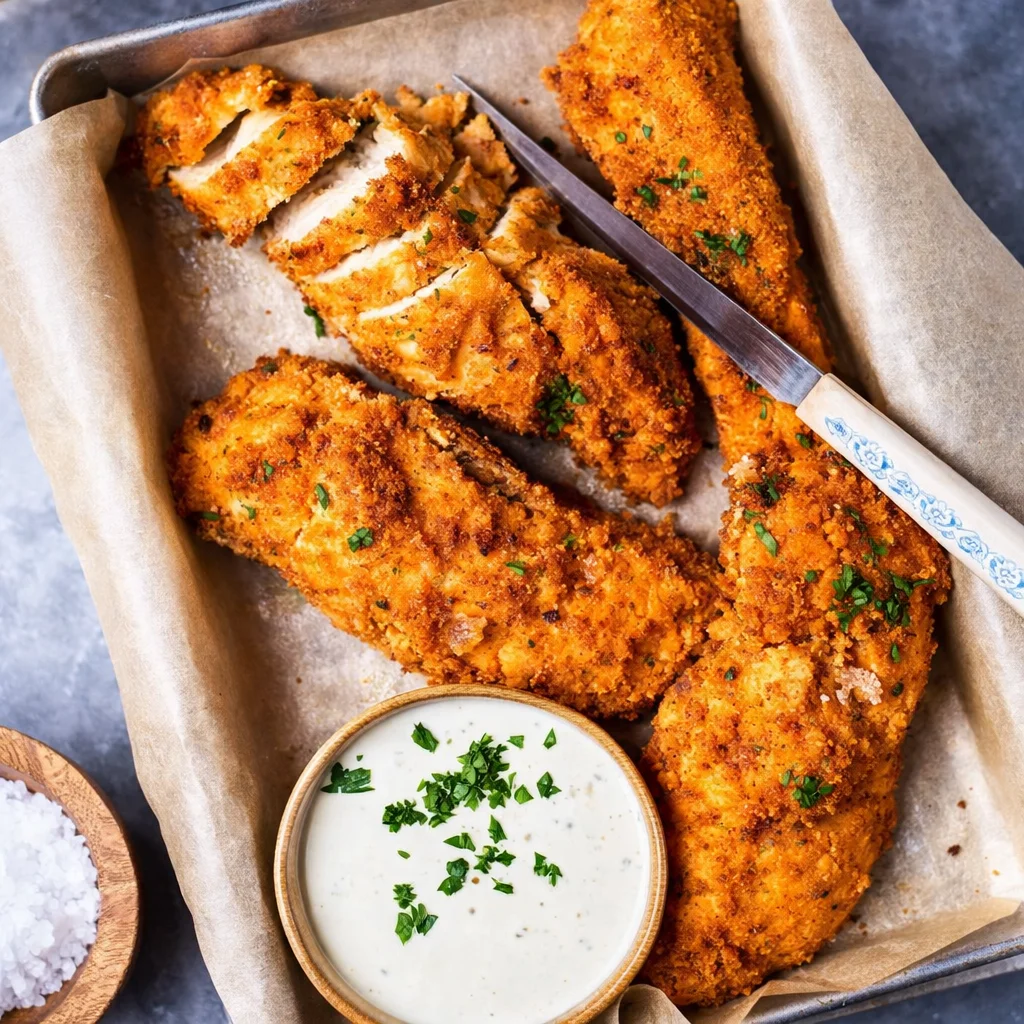
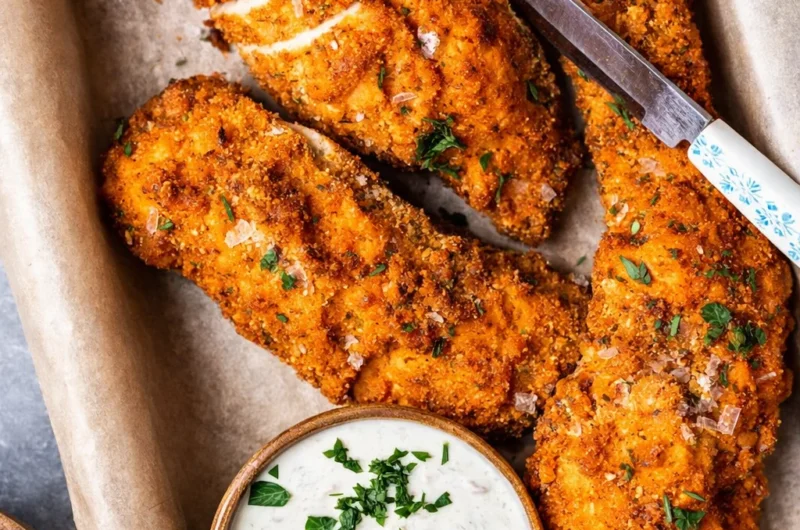
Fried Chicken Breast Guide: Crispy Outside, Juicy Inside Every Time
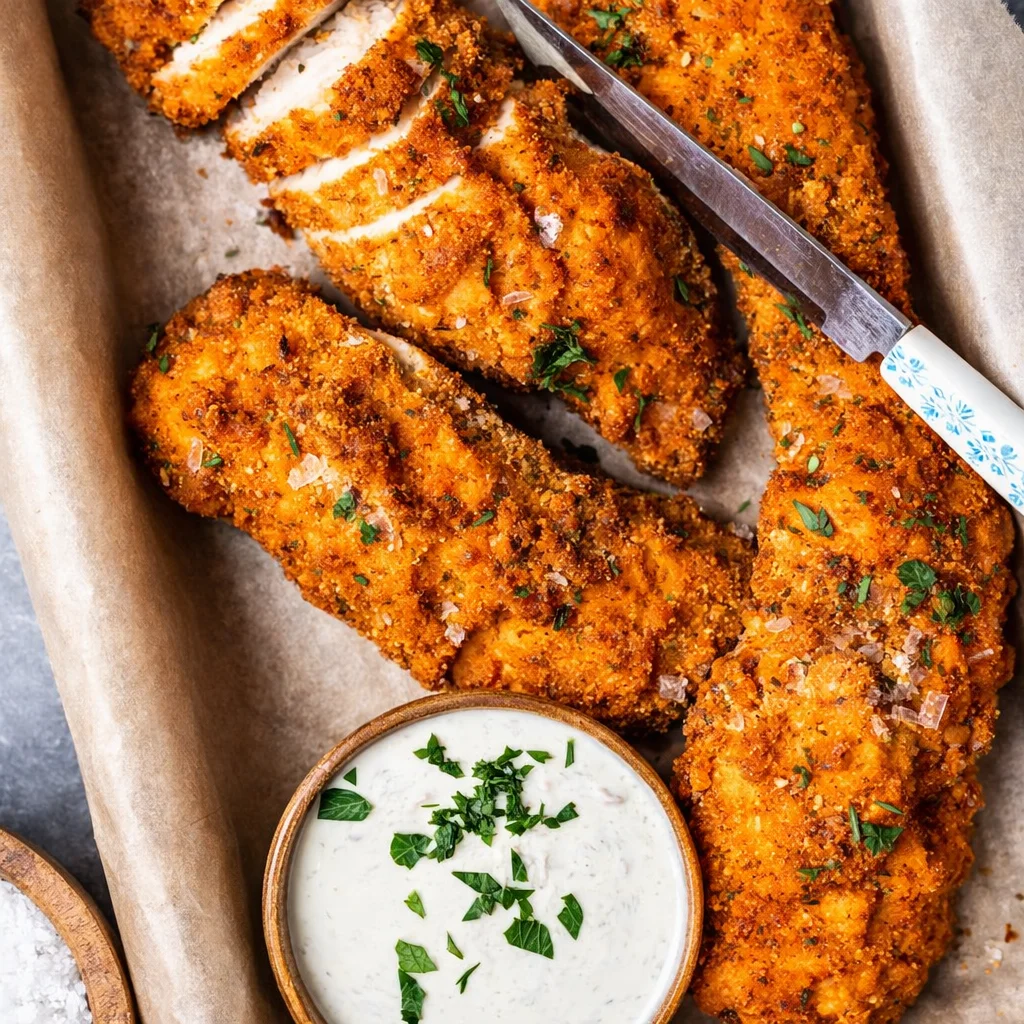
This Fried Chicken Breast method focuses on precision rather than guesswork. By controlling oil temperature, using buttermilk for tenderness, and allowing the coating to rest before frying, you achieve a crunchy crust with a juicy center. Whether you’re making pan-fried chicken breast for a quick dinner or mastering a crispy breading technique, this guide explains not just how — but why — each step works.
Ingredient Deep Dive: The Science Behind Flavor and Texture
Understanding the role of each ingredient is key to perfect Fried Chicken Breast. Instead of a basic ingredient list, think of this recipe as a system built on balance.
The Protein
- 1 lb chicken breast, pounded to even thickness. Uniform thickness ensures even cooking and prevents dry edges.
The Crunch Factor
- All-purpose flour + cornstarch (3:1 ratio). Cornstarch creates tiny bubbles during frying, leading to a lighter, crispier crust.
The Flavor Matrix
- Smoked paprika
- Garlic powder
- Onion powder
- Cayenne pepper
These spices enhance browning through the Maillard reaction while adding depth without overpowering the chicken.
The Binder
- Buttermilk. The mild acidity tenderizes the meat while helping the breading adhere better than a simple egg wash. Comparing buttermilk vs. egg wash, buttermilk consistently produces juicier results.
The 3-Stage Dredge System (The Fail-Proof Method)
1. Preparation: Even-Cook Technique
Pat the chicken completely dry and pound to an even thickness. Moisture on the surface prevents proper adhesion and leads to soggy coating.
2. Adhesion: Dry–Wet–Dry Method
- Coat chicken lightly in seasoned flour.
- Dip into buttermilk mixture.
- Return to flour-cornstarch coating and press firmly.
Let the breaded chicken rest for 10 minutes before frying. This “set” stage hydrates the flour and prevents the crust from falling off — a detail many recipes overlook.
3. The Fry
Heat oil to 350°F and maintain temperature with a digital thermometer. Fry each chicken breast for 5–6 minutes per side until golden brown.
Oil Comparison: Choosing the Best Fat for Frying
| Oil | Smoke Point | Flavor | Best For |
|---|---|---|---|
| Peanut Oil | Very High | Neutral | Classic frying |
| Lard | Medium-High | Rich, traditional | Deep flavor |
| Avocado Oil | High | Clean taste | Health-conscious cooking |
Maintaining the correct oil temperature ensures the coating crisps quickly without absorbing excess grease.
The Golden Nugget Technique: Double-Dip Method
For an extra crunchy crust, try the Double-Dip Method. After the first coating, dip the chicken back into the buttermilk and then again into the flour mixture. Some chefs even add a tablespoon of vodka to the batter — alcohol evaporates quickly, creating steam pockets that increase crispiness.
Why Your Fried Chicken Breast Failed (Troubleshooting Table)
| Problem | Cause | Solution |
|---|---|---|
| Coating fell off | Chicken too wet | Pat dry before dredging |
| Burnt outside, raw inside | Oil too hot | Maintain 350°F with thermometer |
| Dry meat | Overcooked to 165°F in pan | Remove at 160°F for carry-over cooking |
| Greasy crust | Oil too cool | Allow oil to reheat between batches |
Understanding these issues helps you master crispy breading technique with confidence.
Internal Temperature for Juicy Chicken: The Science
The ideal internal temp for juicy chicken is 160°F when removed from the pan. Carry-over heat continues cooking the meat while it rests, bringing it safely to 165°F without drying it out. This technique keeps pan-fried chicken breast tender instead of tough.
Pro Tips for Extra Crispy Fried Chicken Breast
- Use a wire rack instead of paper towels to prevent steam from softening the crust.
- Fry in small batches to keep oil temperature stable.
- Season every layer — flour, buttermilk, and finishing salt — for balanced flavor.
Frequently Asked Questions
What is the best way to keep fried chicken crispy?
Yes, place cooked chicken on a rack in a warm oven instead of stacking pieces. Airflow keeps the crust crunchy.
Can I pan-fry instead of deep fry?
Yes, pan-fried chicken breast works perfectly when oil depth reaches halfway up the sides of the chicken.
Is buttermilk better than egg wash?
Yes, buttermilk tenderizes the meat while helping seasoning stick, creating a more flavorful crust.
Final Thoughts
Mastering Fried Chicken Breast isn’t about a single recipe — it’s about understanding ratios, temperature control, and the science of frying. By using the 3-stage dredge system, maintaining oil at 350°F, and removing the chicken at the correct internal temperature, you create a crispy exterior with juicy, flavorful meat every time. Once you understand the method, you can adapt it endlessly for different spice blends and cooking styles.
Fried Chicken Breast Guide: Crispy Outside, Juicy Inside Every Time
Course: Lunch, DinnerCuisine: AmericanServings
4
servingsPrep time
20
minutesCooking time
25
minutesCalories
320
kcalIngredients
2 large chicken breasts (boneless, skinless)
1 cup all-purpose flour
2 eggs
1 cup breadcrumbs (or panko)
1 teaspoon paprika
1 teaspoon garlic powder
½ teaspoon black pepper
1 teaspoon salt
Oil for frying
Directions
- Slice the chicken breasts horizontally to create thinner cutlets for even cooking.
- Prepare three bowls: one with seasoned flour, one with beaten eggs, and one with breadcrumbs mixed with paprika, garlic powder, salt, and pepper.
- Coat each chicken piece first in flour, then egg, then breadcrumbs. Press gently so the coating sticks well.
- Heat oil in a frying pan over medium heat until hot but not smoking.
- Fry the chicken for about 5–7 minutes per side until golden brown and fully cooked inside.
- Transfer to paper towels to remove excess oil.
- Serve warm with your favorite sides or dipping sauce.