The Best Fluffy Pancakes recipe you will fall in love with. Full of tips and tricks to help you make the best pancakes.
Pie Crust: The Only “Hydration-Adjusted” Recipe You Need
If you’ve ever wondered why your best pie crust recipe turned out crumbly, dry, or impossible to roll, you’re not alone. The secret isn’t just about cold butter or the right flour—it’s about understanding hydration control. While standard foolproof pie crust recipes call for a fixed amount of water, the truth is that your environment dramatically affects how much liquid your dough needs.
The Direct Answer: What Makes a Truly Flaky Pie Crust?
The secret to a flaky pie crust is not just cold butter, but hydration control. While standard recipes call for 1/2 cup of water, this varies by humidity. Our method uses the “Squeeze Test” to determine the exact hydration point, preventing the common dry-dough failure found in traditional recipes.
This isn’t just another pie crust tutorial—this is the science of pie crust applied to your kitchen, wherever you live, whatever the weather.
Understanding the Hydration Challenge
Traditional pie dough recipes fail because they assume every kitchen operates under identical conditions. But here’s what really matters:
- Humidity levels affect how much moisture your flour absorbs from the air
- Temperature variations impact butter incorporation and gluten development
- Flour protein content differs by brand and directly influences water absorption
When you follow a static recipe without adjusting for these variables, you’re gambling with your results.
The Hydration Table: Your Dynamic Water Guide
| Kitchen Conditions | Humidity Level | Water Amount (for 2.5 cups flour) | Adjustment Notes |
|---|---|---|---|
| Dry Desert/Winter | Low (<30%) | 8-10 tablespoons | Start with more water; flour is drier |
| Moderate Climate | Medium (30-60%) | 6-8 tablespoons | Standard recipe range works |
| Humid Summer/Tropical | High (>60%) | 4-6 tablespoons | Reduce water; flour already moist |
| Rainy Day Baking | Very High (>70%) | 4-5 tablespoons | Use minimal water initially |
Pro Tip: Check your local weather app for humidity levels before you start mixing. This single adjustment is the difference between a tender, flaky crust and a crumbly disaster.
The Frozen Grater Method: Easier Than Cutting Butter
Forget laboriously cutting cold butter into cubes. The Frozen Grater Method is a game-changer for achieving perfectly distributed butter throughout your pastry dough.
Why This Works Better:
- Even Distribution: Grating creates uniform butter pieces that coat flour evenly
- Stays Cold: Butter spends less time in your warm hands
- Beginner-Friendly: No knife skills required—just a box grater
- Consistent Results: Every shred is the same size (unlike hand-cut pieces)
How to Execute:
- Freeze your butter solid for at least 2 hours
- Use the large holes of a box grater
- Grate directly into your flour mixture
- Work quickly to prevent melting
- Toss grated butter with flour immediately
The result? Those coveted pea-sized butter crumbs that create steam pockets during baking, producing the flaky layers everyone loves.
The Complete Step-by-Step Process
Ingredients:
- 2½ cups (300g) all-purpose flour
- 1 tablespoon (12g) granulated sugar
- 1 teaspoon (6g) salt
- 1 cup (226g) unsalted butter, frozen
- 6-10 tablespoons ice water (adjust using table above)
- 1 tablespoon apple cider vinegar (optional, for extra tenderness)
Instructions:
Step 1: Prepare Your Flour Base Whisk together flour, sugar, and salt in a large bowl. Place the bowl in the freezer for 10 minutes—this keeps everything cold and gives you more working time.
Step 2: Grate Your Frozen Butter Remove the flour mixture from the freezer. Working quickly, grate frozen butter using the large holes of your grater directly into the flour. After every few tablespoons, toss the butter with the flour to coat it.
Visual Cue: You should see butter shreds that resemble shredded cheese throughout the flour.
Step 3: The Squeeze Test (Critical!) Start with the minimum water amount from your hydration table. Drizzle it over the flour mixture, tossing with a fork. Now perform the Squeeze Test:
- Grab a handful of the mixture
- Squeeze firmly for 3 seconds
- Open your hand
What You’re Looking For: The dough should hold together in a clump but feel slightly shaggy. If it immediately crumbles, add 1 more tablespoon of water and test again.
Step 4: Form and Rest Turn the dough onto a work surface. Gently press it together (don’t knead!). Divide into two discs, wrap tightly in plastic wrap, and refrigerate for at least 1 hour—preferably 2 hours.
Why Rest? This allows gluten strands to relax and butter to firm up, preventing shrinkage and making rolling easier.
Step 5: Roll and Bake Roll on a lightly floured surface to your desired thickness (typically 1/8 inch for pie shells). For blind baking: 400°F for 15 minutes with pie weights, then 10-12 minutes without until golden.
Troubleshooting: The “Why” Section
Q: Why did my pie crust shrink during baking?
A: Shrinkage occurs when gluten is overworked or the dough wasn’t rested long enough. Gluten strands contract during baking if they haven’t had time to relax. Solution: Rest your dough for at least 1 hour, and avoid overworking it during mixing and rolling.
Q: My crust was tough instead of flaky. What happened?
A: Tough crust results from over-mixing or warm butter. When you work the dough too much, you develop gluten, which creates chewiness (great for bread, bad for pie). Keep everything cold and handle minimally.
Q: The dough was too dry and cracked when rolling. Help!
A: This is the classic hydration problem. You either didn’t add enough water initially or didn’t adjust for your climate. Next time, use the Hydration Table and perform the Squeeze Test properly. If your dough is already made, let it sit at room temperature for 10 minutes to soften slightly before rolling.
Q: Why are there gray streaks in my baked crust?
A: Those gray streaks are actually aluminum from your pie pan reacting with acidic ingredients. It’s harmless but unattractive. Use glass or ceramic pie dishes, or line your aluminum pan with parchment first.
Q: Can I make this dough ahead of time?
A: Absolutely! Wrapped tightly, pie dough keeps for 3 days in the refrigerator or 3 months in the freezer. Thaw frozen dough overnight in the fridge before using.
The Science Behind Perfect Pastry
Understanding the science of pie crust elevates you from following recipes to creating consistently excellent results:
The Fat Factor
Butter contains about 15-20% water. During baking, this water converts to steam, pushing apart flour layers and creating flakiness. Using the Frozen Grater Method preserves larger butter pieces that create more dramatic layering.
Gluten Management
All-purpose flour contains 10-12% protein. When mixed with water, these proteins form gluten—the elastic network that gives bread its chew. For tender pie crust, we want minimal gluten development, achieved through:
- Cold ingredients (slows gluten formation)
- Quick mixing (less mechanical development)
- Resting time (allows gluten to relax)
Moisture Balance
The eternal struggle in pastry: you need enough water to hold the dough together, but too much activates excess gluten and creates toughness. The Squeeze Test gives you tactile feedback that measurements alone can’t provide.
Beyond the Basics: Variations and Uses
Once you’ve mastered this foolproof pie crust technique, try these applications:
- Savory Version: Reduce sugar to 1 teaspoon, add 1 tablespoon fresh herbs
- Whole Wheat Blend: Replace up to 1 cup all-purpose flour with whole wheat for nutty flavor
- Vodka Trick: Replace 2 tablespoons water with vodka (alcohol doesn’t form gluten, allowing more liquid without toughness)
- Double Crust Pies: This recipe makes enough for one double-crust pie
- Hand Pies: Roll thinner and cut into circles for portable treats
Your Action Plan for Perfect Crust Every Time
- Check weather conditions and note humidity level
- Freeze your butter at least 2 hours before starting
- Reference the Hydration Table for your water starting point
- Use the Frozen Grater Method for effortless butter incorporation
- Perform the Squeeze Test before committing to final water amount
- Rest your dough for maximum tenderness and rollability
The difference between a mediocre pie crust and an exceptional one isn’t talent—it’s technique informed by science. By adjusting for your environment and using methods that guarantee even butter distribution, you’re eliminating the variables that cause failure.
This isn’t just the best pie crust recipe—it’s the last pie crust recipe you’ll ever need to learn.

Pie Crust: The Only “Hydration-Adjusted” Recipe You Need
Course: Recipe CollectionsCuisine: AmericanServings
4
servingsPrep time
20
minutesCooking time
00
minutesCalories
210
kcalIngredients
2½ cups (312 g) all-purpose flour
1 tsp fine salt
1 Tbsp granulated sugar (optional)
1 cup (226 g) cold unsalted butter, cut into ½-inch cubes
6–10 Tbsp (90–150 ml) ice-cold water, as needed
1 tsp apple cider vinegar or lemon juice (optional; helps tenderness)
Directions
- Mix dry: In a large bowl, whisk flour, salt, and sugar.
- Cut in butter: Toss in cold butter cubes. Cut in with a pastry cutter (or pulse in a food processor) until pea-sized bits remain with some larger almond-sized pieces.
- Hydrate: Sprinkle 6 Tbsp ice water plus vinegar over the mixture. Toss with a fork, adding more water 1 Tbsp at a time until the dough just holds when pinched—slightly shaggy, not wet.
- Divide & wrap: Turn onto a work surface, gently bring together. Divide into 2 equal discs. Wrap each tightly.
- Chill: Refrigerate at least 1 hour (up to 2 days) or freeze up to 3 months.
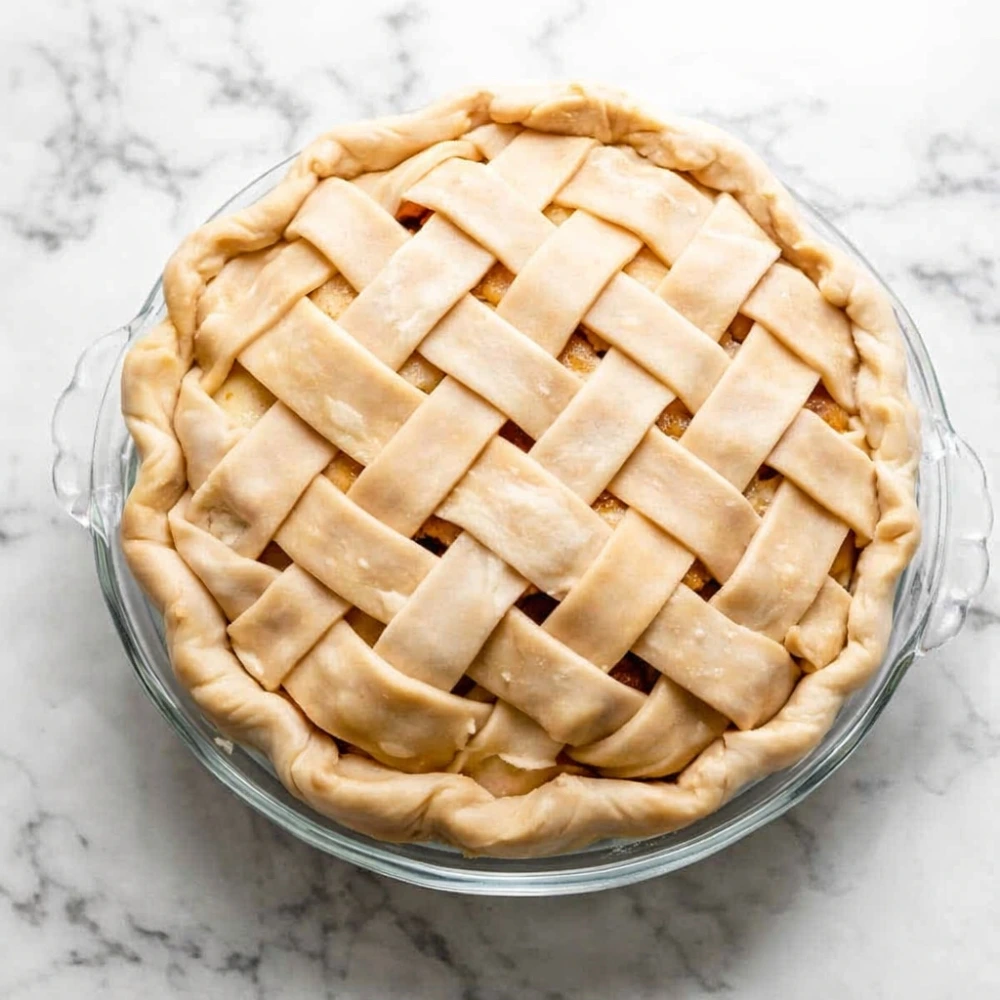
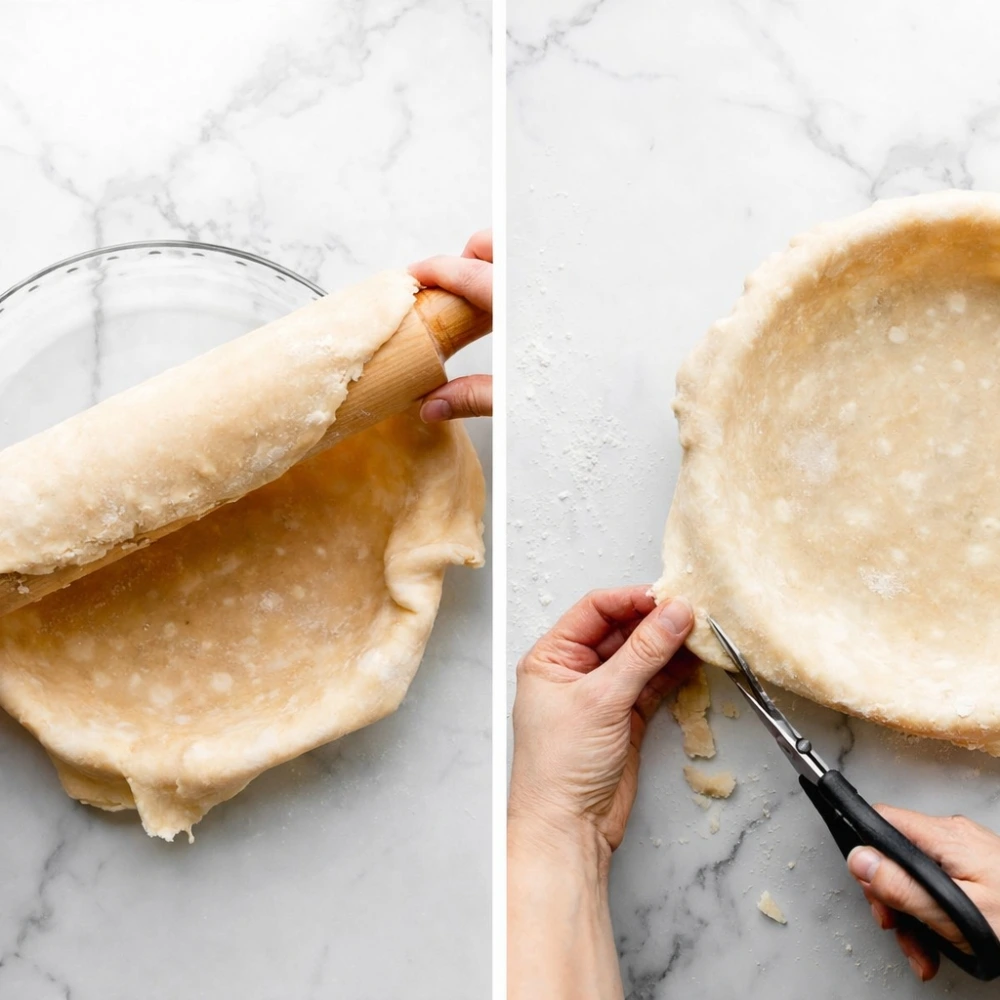
- Roll: On a lightly floured surface, roll one disc from center outward into a 12-inch round (about ⅛-inch thick) for a 9-inch pie. Dust off excess flour.
- Fit: Ease into pie plate without stretching; trim to a 1-inch overhang. Fold under and crimp.
- For a filled, unbaked crust: Add filling per recipe and bake as directed.
- For blind-baking (prebaked shell):
- Chill the shaped crust 20 minutes. Dock the bottom with a fork.
- Line with parchment and fill with pie weights.
- Bake at 190°C / 375°F for 15–18 min; remove weights, bake 7–12 min more until lightly golden for a par-bake (fully bake to deep golden, +5–8 min).
- Cool: Let cool before filling (if blind-baked).