The Best Fluffy Pancakes recipe you will fall in love with. Full of tips and tricks to help you make the best pancakes.
The Crispiest Fried Pickles Recipe: 3 Ways to Avoid Soggy Battering
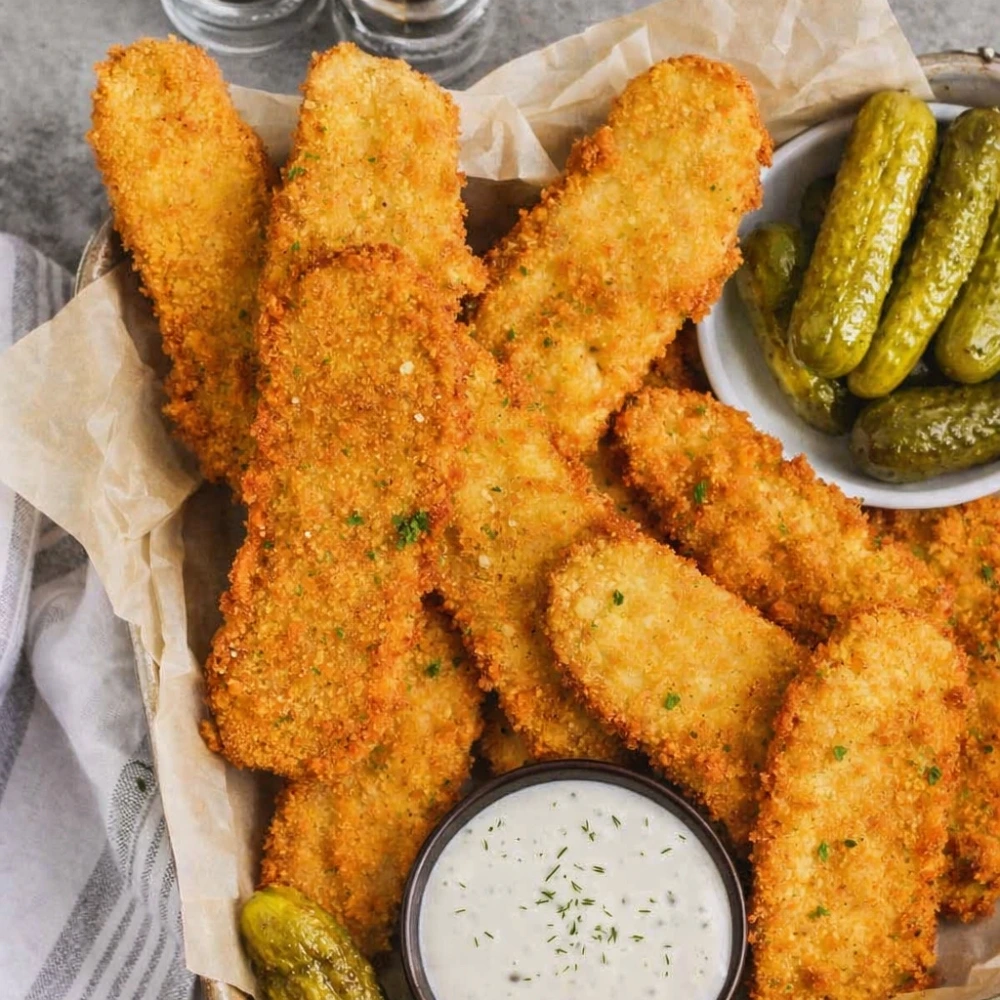
There’s nothing quite like biting into a perfectly fried pickle—that satisfying crunch giving way to a tangy, juicy center. But let’s be honest: soggy fried pickles are a disappointing reality in too many kitchens. Whether you’re craving a classic southern appetizer for game day or looking to elevate your snack game, mastering the art of crispy fried pickles isn’t just about throwing pickles in hot oil. It’s about understanding the science behind the crunch and choosing the right cooking method for your needs.
In this comprehensive guide, I’ll walk you through the exact techniques professional chefs use to create restaurant-quality fried pickles at home—whether you’re using a deep fryer, air fryer, or conventional oven. Plus, I’ll reveal the cornstarch secret that keeps your coating shatteringly crisp, not limp and soggy.
How Do You Make Fried Pickles Crispy?
To get restaurant-quality fried pickles that aren’t soggy, you must follow the Dry-Wet-Dry method:
- Pat pickles completely dry with paper towels to remove excess brine
- Dredge in seasoned flour for the first coating layer
- Dip in buttermilk/egg wash to create adhesion
- Final coat in a cornstarch-flour blend for maximum crispiness
Frying at 375°F (190°C) ensures the coating seals instantly before the pickle releases moisture. This temperature sweet spot creates steam that pushes outward, preventing oil absorption while crisping the exterior.
The Science of the Crunch: Why Most Recipes Fail
The pH Factor
Here’s something most fried pickle recipes won’t tell you: pickle acidity directly affects batter adhesion. The acidic brine (typically pH 3.0-3.5) creates a hostile environment for standard wheat flour proteins. This is why many homemade versions end up with breading that slides right off.
The solution? Neutralize excess surface acidity by thoroughly patting pickles dry and allowing them to air-dry for 5-10 minutes before battering. This small step dramatically improves coating adhesion.
The Cornstarch Secret
Want to know the difference between amateur and professional-level crispy coating? Cornstarch.
While traditional recipes rely solely on all-purpose flour, incorporating 20% cornstarch into your flour mixture creates a scientifically superior crust. Here’s why:
- Lower gluten content prevents tough, chewy breading
- Higher gelatinization temperature creates a lighter, crispier texture
- Superior moisture absorption maintains crunch longer after frying
Pro Tip: Chill your battered pickles for 10 minutes before frying to help the coating stick and create an even crispier shell.
Choosing the Right Pickle: Spears vs. Slices vs. Chips
Not all pickles fry equally. Your choice impacts texture, cooking time, and overall eating experience.
| Pickle Type | Best For | Cooking Time | Crunch Level |
|---|---|---|---|
| Dill Chips | Even cooking, maximum surface area | 2-3 minutes | ⭐⭐⭐⭐⭐ |
| Slices (1/4″) | Balance of crunch and pickle flavor | 3-4 minutes | ⭐⭐⭐⭐ |
| Spears | Hearty appetizer, shareable | 4-5 minutes | ⭐⭐⭐ |
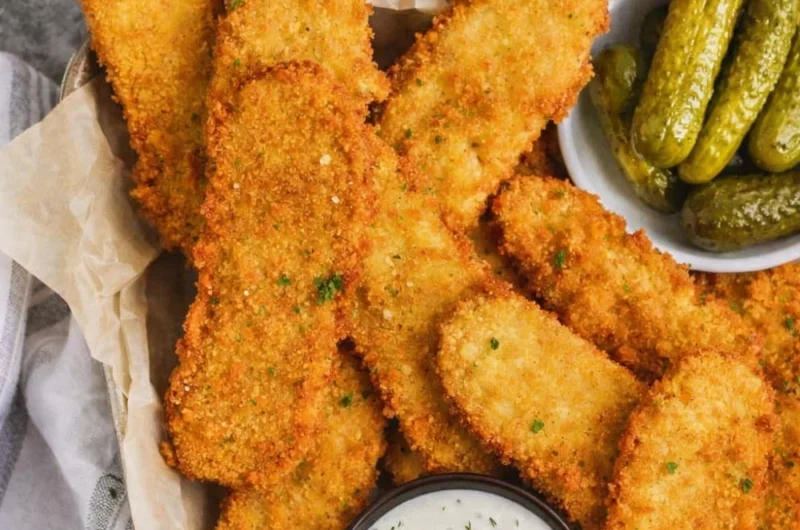
My recommendation? For beginners, start with dill pickle chips. Their uniform thickness ensures consistent cooking, and the high surface-area-to-volume ratio delivers maximum crispiness.
The “Triple-Dredge” Technique: Step-by-Step Breakdown
This is where the magic happens. The triple-dredge method creates multiple protective layers that lock in moisture while developing that signature golden crunch.
Station 1: Dry Mixture
- 1 cup all-purpose flour
- 1/4 cup cornstarch
- 1 tsp garlic powder
- 1 tsp paprika
- 1/2 tsp cayenne pepper
- Salt and black pepper to taste
Station 2: Wet Mixture
- 1 cup buttermilk
- 1 large egg
- 1 tbsp hot sauce (optional, for heat)
Station 3: Final Coating
- 1 cup all-purpose flour
- 1/4 cup cornstarch
- Same seasonings as Station 1
The Process:
- Thoroughly dry your pickles using paper towels—this is non-negotiable
- First dredge: Roll pickles in the dry mixture, ensuring complete coverage
- Wet dip: Submerge in buttermilk mixture, allowing excess to drip off
- Final coating: Dredge again in the second dry mixture, pressing gently to adhere
- Rest: Place on a wire rack for 10 minutes (this prevents coating separation)
Best Oils for Frying: Understanding Smoke Points
Oil selection matters more than you think. The wrong choice can impart off-flavors or break down at high temperatures.
Top Choices for Deep Frying:
- Peanut oil (Smoke point: 450°F) – Neutral flavor, ideal for crispy coating
- Canola oil (Smoke point: 400°F) – Budget-friendly, clean taste
- Vegetable oil (Smoke point: 400°F) – Widely available, reliable performance
Avoid: Olive oil and butter have low smoke points and will burn at proper frying temperatures.
Air Fryer Instructions: The Healthier Crispy Option
Air fryer fried pickles have exploded in popularity—and for good reason. They deliver 70% fewer calories than deep-fried versions while maintaining impressive crispiness.
Air Fryer Method:
- Preheat air fryer to 400°F
- Lightly spray basket with cooking oil
- Arrange pickles in a single layer (don’t overcrowd!)
- Spray pickles with cooking oil—this is crucial for browning
- Cook for 8-10 minutes, flipping halfway through
- For extra crispiness, increase temperature to 425°F for final 2 minutes
Why the oil spray matters: Air fryers work by circulating hot air, but without oil, your breading won’t achieve that golden-brown color or crispy texture.
Cooking Method Comparison: Which Is Right for You?
| Method | Time | Calories (per serving) | Crunch Level | Ease |
|---|---|---|---|---|
| Deep Fry | 3-4 min | 280 | ⭐⭐⭐⭐⭐ | Medium |
| Air Fryer | 10 min | 85 | ⭐⭐⭐⭐ | Easy |
| Oven Baked | 20 min | 95 | ⭐⭐⭐ | Very Easy |
My take: For maximum crispiness and authentic texture, deep frying wins. But for everyday convenience and health-conscious cooking, the air fryer delivers surprisingly excellent results.
Frequently Asked Questions
Why is my breading falling off?
This happens when pickles aren’t dried properly or when the coating doesn’t have time to set. Always pat pickles completely dry and let battered pickles rest for 10 minutes before cooking.
Can I use bread and butter pickles?
While dill pickles are traditional, bread and butter pickles work beautifully! Their sweetness creates an interesting sweet-savory contrast. Just reduce added sugar in your seasoning blend.
How do I reheat fried pickles without losing crispiness?
Use an air fryer at 375°F for 3-4 minutes, or a conventional oven at 400°F for 5-7 minutes. Never microwave—it creates steam that destroys the crispy coating.
What’s the best dipping sauce?
Classic ranch dressing is timeless, but try spicy remoulade, comeback sauce, or sriracha mayo for elevated flavor profiles.
Final Pro Tips for Pickle Perfection
✓ Temperature control is everything: Use a thermometer to maintain 375°F for deep frying
✓ Don’t overcrowd: Fry in small batches to prevent temperature drops
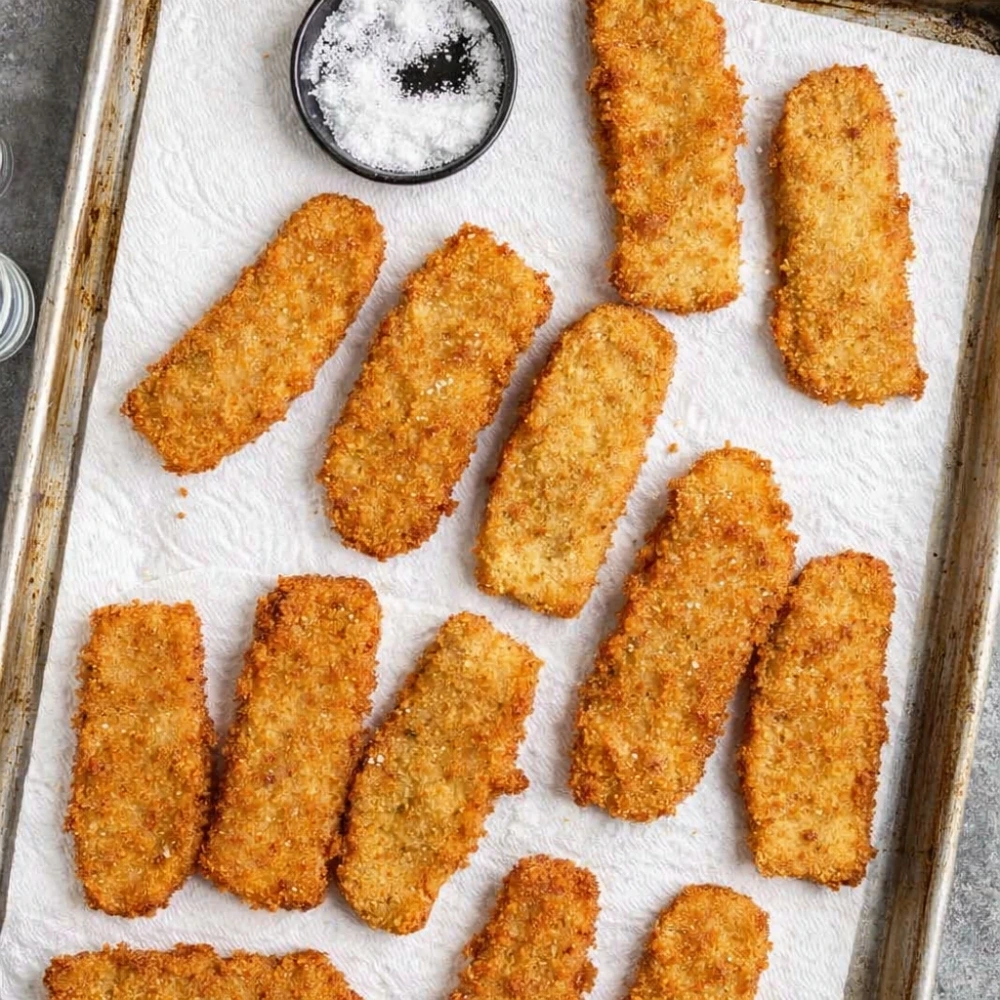
✓ Drain properly: Use a wire rack, not paper towels, to keep the bottom crispy
✓ Serve immediately: Fried pickles are best enjoyed within 10 minutes of cooking
✓ Season right after frying: Hit them with a pinch of salt while still hot
Whether you’re hosting a party, meal-prepping appetizers, or simply satisfying a craving, this foolproof method ensures your crispy fried pickles turn out perfect every time. The combination of proper preparation, the right flour-to-cornstarch ratio, and precise cooking temperature transforms simple dill pickles into an irresistible crunchy snack that rivals any restaurant version.
Ready to experience the ultimate southern appetizer? Grab your pickles and get frying—your taste buds will thank you!
The Crispiest Fried Pickles Recipe: 3 Ways to Avoid Soggy Battering
Course: Appetizers, Recipe CollectionsCuisine: AmericanServings
4
servingsPrep time
10
minutesCooking time
25
minutesCalories
300
kcalIngredients
1 (16–24 oz / 450–680 g) jar dill pickle chips or slices, drained and patted very dry
Neutral oil for frying (about 6 cups / 1.5 L)
Dry mix: 1 cup (120 g) all-purpose flour, ¼ cup (30 g) cornstarch, 1 tsp paprika, 1 tsp garlic powder, ½ tsp onion powder, ½ tsp kosher salt, ½ tsp black pepper, ⅛ tsp cayenne
Wet mix: ¾ cup (180 ml) buttermilk, 1 large egg, 1 tsp hot sauce (optional)
To serve: ranch or spicy mayo, lemon wedges (optional)
Directions
- Heat oil: Pour oil into a deep pot to a depth of 2–3 in (5–7 cm). Heat to 375°F / 190°C. Set a wire rack over a sheet pan.
- Make dredges: In one bowl, whisk the dry mix. In another, whisk the wet mix.
- Dry pickles: Drain pickle chips and pat very dry with paper towels (crucial for crispiness).
- Coat: Working in batches, toss pickles in the dry mix → dip in wet mix → return to dry mix and coat, shaking off excess.
- Fry: Carefully add coated pickles to hot oil in single layers. Fry 2–3 minutes until deep golden and crisp, turning once.
- Drain & season: Transfer to rack; sprinkle a pinch of salt if needed. Let stand 1–2 minutes to set.
- Serve: Enjoy hot with ranch or your favorite dipping sauce.